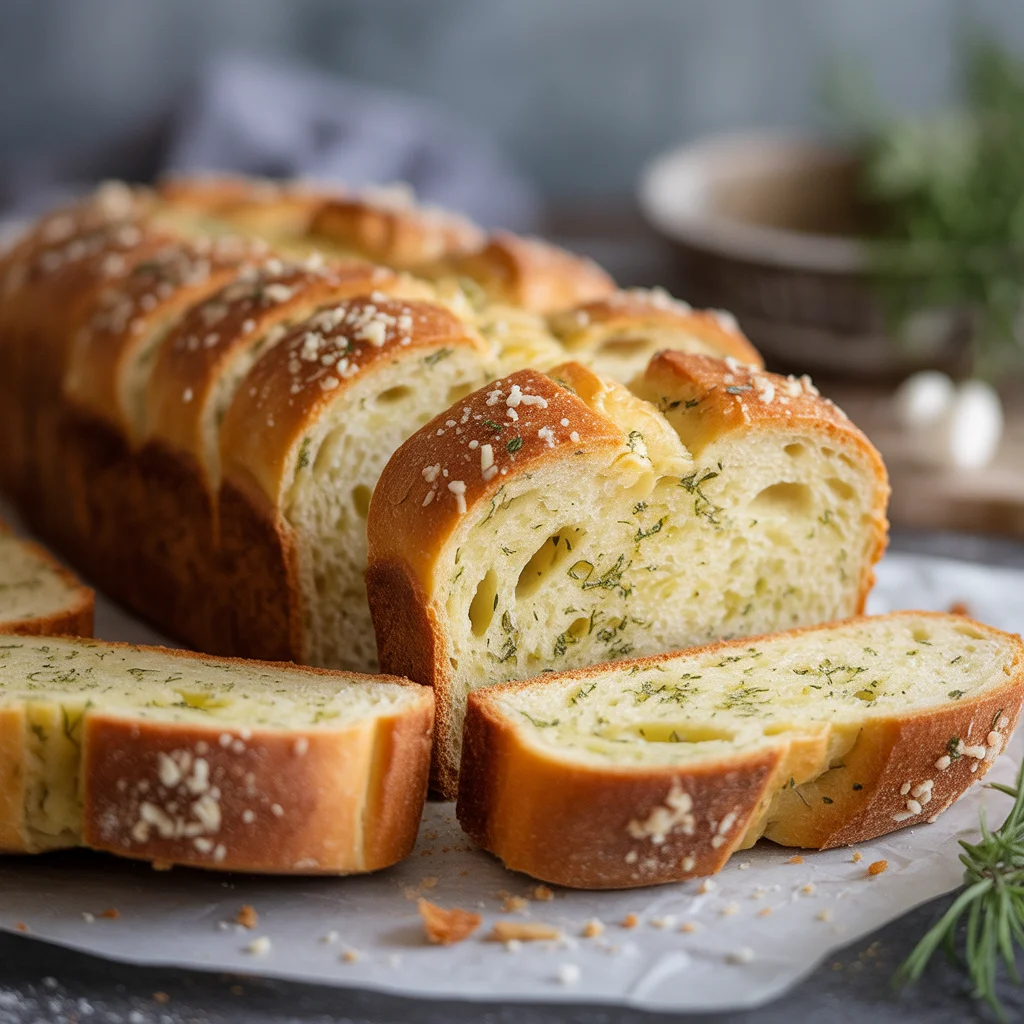
Sourdough Garlic Bread is the one thing I crave just about every time I cook pasta. Ever pulled out a dusty baguette from the store and thought, “This should taste better”? You’re not alone. I used to settle for tasteless, chewy garlic bread, then I learned how easy it is to make a five-star loaf at home.
If you want the step-by-step play-by-play, you can simply follow this guide on how to make sourdough garlic bread. Trust me, your family will fight over the last slice.
Why Sourdough Garlic Bread Is the Best Side Dish
Okay, can we be honest for a second? Sourdough garlic bread is straight-up the best thing to ever sit next to a bowl of soup. Its crusty edges snap just right. Plus, that tangy crumb soaks up garlic butter like it was born for it. And compared to regular white bread, sourdough has a flavor that doesn’t get lost under butter or herbs. If you want to jump into more bread adventures, just look at all the tasty inspiration on this breads category.
Print
Sourdough Garlic Bread
- Total Time: 25 minutes
- Yield: 8 servings
Description
A quick and easy recipe for a delicious homemade sourdough garlic bread that complements any pasta dish with its crispy crust and flavorful garlic butter.
Ingredients
Main Ingredients
- 1 loaf big loaf of sourdough bread (Use good bakery sourdough or homemade if possible.)
- 1/2 cup unsalted butter (Super soft, not microwave-melted.)
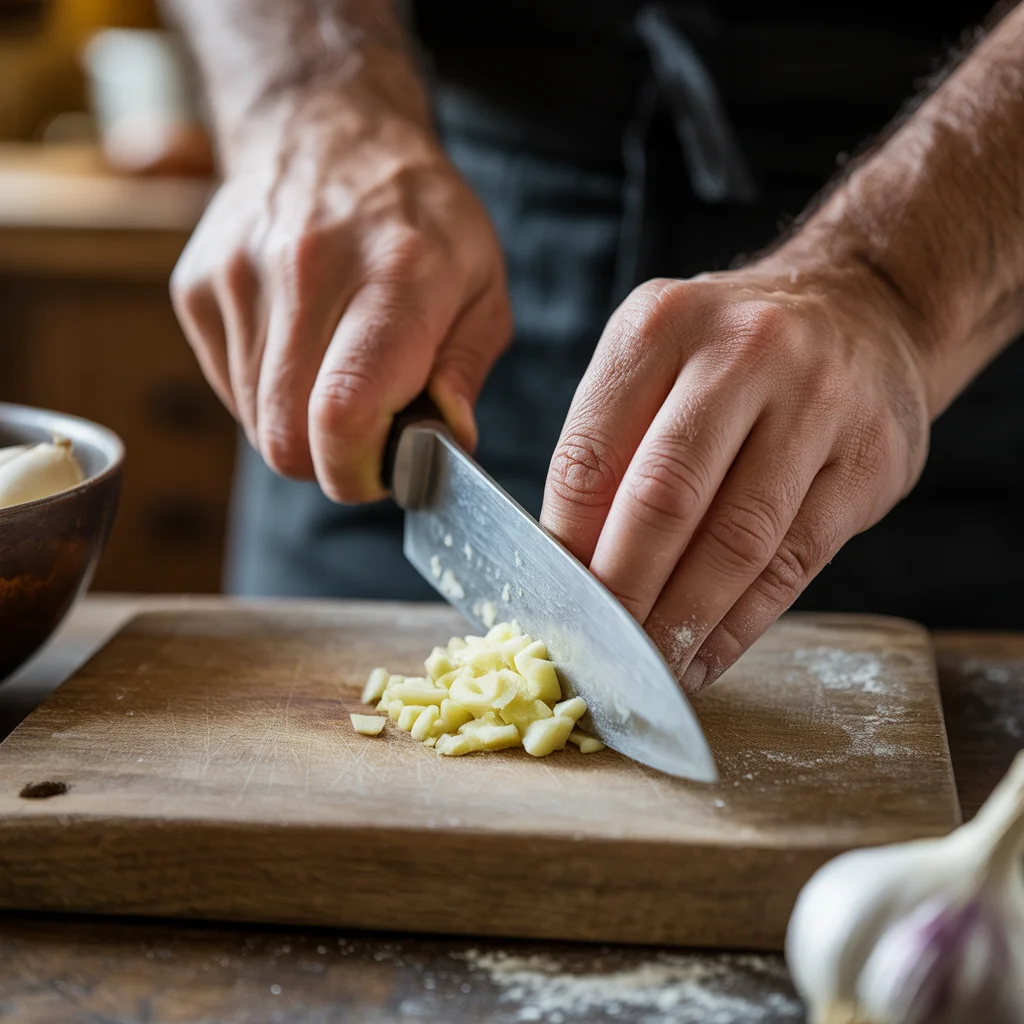
- 5 to 6 cloves fresh garlic (Smashed or grated; avoid jarred unless necessary.)
- 2 tablespoons fresh parsley (Chopped.)
- pinch Salt (Just a pinch or two.)
- Optional: extra olive oil, grated parmesan cheese, or chopped chives (For added flavor.)
Instructions
Preparation
- Preheat your oven to 400°F (200°C).
- Slice your sourdough in half like a sandwich, then lay it cut side up.
- In a bowl, combine the butter, garlic, parsley, and salt. Mix with a fork until thick but spreadable.
- Spread the butter mixture liberally across both halves of the bread.
- Gently press the halves back together and wrap with foil.
- Bake for 10 minutes to melt everything.
- Open the foil and return the bread to the oven for an additional 5 minutes, cut side up.
Notes
Start with good quality sourdough and be generous with the butter and garlic. Let the finished bread sit a minute or two before slicing to retain the moisture.
- Prep Time: 10 minutes
- Cook Time: 15 minutes
- Category: Appetizer, Side Dish
- Cuisine: American, Italian
A big reason I go sourdough is that little “chew” and the slightly wild flavor it brings. It never feels bland. Dip it, dunk it, or use it to mop up sauce later. You’ll want to eat the whole tray, as I always do.
Ingredients for Sourdough Garlic Bread
You don’t need anything fancy. Actually, the shorter the list, the better the flavor pops.
- 1 big loaf of sourdough bread (try to use good bakery stuff or even homemade if possible)
- 1/2 cup unsalted butter, super soft, not microwave-melted
- 5 to 6 fresh garlic cloves, smashed or grated (not jarred unless you’re desperate)
- 2 tablespoons fresh parsley (chopped)
- Salt, just a pinch or two
- Optional: extra olive oil, grated parmesan cheese, or chopped chives
Trust me on the fresh garlic part. Pre-chopped stuff is never quite the same. But hey, it’ll still taste good in a pinch.
How to Make Sourdough Garlic Bread Step by Step
Getting that bakery-quality crunch isn’t magic. Here’s what works for me every single time, even with kids running circles around the kitchen.
How to Make Sourdough Garlic Bread Step by Step
- Preheat your oven to 400°F
Preheat your oven to 400°F (200°C). No shortcuts, a hot oven keeps the crust crisp.
- Slice your sourdough
Slice your sourdough in half like a sandwich, then lay it cut side up.
- mush the butter, garlic, parsley, and salt with a fork
In a bowl, mush the butter, garlic, parsley, and salt with a fork. It should be thick but spreadable.
- Slather the butter mixture across both bread halves.
Slather (I mean, really lay it on thick) the butter mixture across both bread halves.
- press the halves back together and wrap
Gently press the halves back together and wrap with foil. Bake for 10 minutes so that everything melts.
- return the bread to the oven for 5 more minutes
Open up the foil and return the bread to the oven for 5 more minutes, cut side up. This crisps up those edges.
Boom. Bakery magic, no pastry chef required. Sometimes I add parmesan cheese in the last five minutes for extra oomph.
Tips for the Perfect Garlic Bread Every Time
Look, I’ve had burned crusts and soggy middles. Here’s what actually works.
Start with really good sourdough bread, if it feels heavy for its size, that’s a good sign. Unsalted butter matters, especially if you like to control saltiness. Don’t skimp on the garlic; fresh is always sharper and less weirdly sweet than jarred, that’s just my non-negotiable. Spread the butter all the way to the crust so no bite is left behind. And don’t forget, the final five minutes in the oven (open-faced) makes all the difference. Leaving it wrapped the whole time can make the crust chewy, which is not what you want.
Another oddball tip: let the finished bread sit a minute or two before slicing. This keeps all that fragrant buttery goodness soaked into the crumb, instead of running onto your cutting board. I learned that after having a greasy mess..don’t repeat my mistake!
Flavor Variations to Try
Honestly, sometimes I get bored and tinker. If you’re up for trying something new, swap half the parsley for fresh basil or even cilantro (go wild). Maybe add a dash of red pepper flakes for a subtle kick, especially good with pasta night. Chopped sun-dried tomatoes sprinkled over the butter turns it Italian-restaurant level. One day, I tossed on crumbled feta and it was outrageously good. If you crave a little sweetness, use roasted garlic instead of raw. I swear you can’t go wrong if you love garlic.
Serving Suggestions and Pairings
Here’s what works best with sourdough garlic bread in my kitchen (and yes, it vanishes fast):
- Bowl of tomato soup or chili for dunking
- Alongside classic spaghetti or any pasta with red sauce
- Paired with grilled steak or roasted chicken
- Topped with leftover pulled pork (don’t knock it till you try it)
Try it as the “bread” for an epic sandwich, honestly. Or, need a brunch idea? Sourdough garlic bread makes the best base for sourdough french toast!
Make-Ahead, Storage, and Freezing Guide
Busy evenings or big parties can make you wish dinner would bake itself. That’s where advance planning pays off. You can slather and wrap your loaf up to a day ahead, then pop it in the fridge. When you’re ready, just bake straight from cold tack on a couple extra minutes for heat-through. Leftovers hang out happily in a zip bag on the counter for about two days (though they rarely last past lunch at my house). If freezing, wrap the unbaked, buttered loaf tightly in foil and then pop in a freezer bag. Let it sit out to thaw, or bake from frozen, just give it up to 10 extra minutes. Still comes out crispy, I promise.
Foil vs. Parchment Paper: Which Works Better
Okay, you’re probably wondering: foil or parchment .. what’s the move? I swear by foil for this recipe, mostly because it locks in steam and melts the butter straight into the bread. Parchment works, but sometimes it just doesn’t hug the loaf tight enough, so you miss out on those gooey middle pieces. If you’re going for over-the-top crispy crust, try baking the last few minutes unwrapped. Honestly, if you’re short on supplies, either one will do in a pinch, I’ve even used both at once when desperate!
How to Fix Garlic That Tastes Bitter
Ever bitten into garlic bread and winced? Bitter garlic ruins everything. Usually, that means the garlic burned or maybe you used old, sprouted cloves. If you notice bitterness, mix a pinch of sugar into your butter mixture or stir in a little more fresh parsley to mellow it out. Next time, keep the butter-garlic spread nice and thick (helps shield the garlic from burning). And hey, don’t toast the bread to oblivion, those black bits are the culprit.
Chef’s Trick for Infusing Maximum Garlic Flavor
Want garlic flavor in every single bite? Here’s my sneaky tip. Let your minced garlic swim in the melty butter for at least fifteen minutes before you slather it on the bread. This lets all that bitey flavor release and mellow out, so you get “wow” in each slice without gnawing a raw clove. If you’re really serious, rub a raw garlic clove over the cut side of the bread before you even add the butter. Overkill? Maybe, but it tastes unreal.
Common Questions & Right Answers
Yep, but you’ll just have smaller slices. It still turns out darn good.
Go with dried herbs, but use way less. Dried stuff is much stronger.
Make sure you unwrap it for the last few minutes in the oven to crisp it up.
Honestly? The flavor won’t be the same. Butter gives way more richness, but use what you have in a pinch.
Two days, max. Warm ‘em up in the oven for best texture.
Ready to Try? Your Kitchen Adventure Awaits
Look, making simple, crusty sourdough breads at home is totally doable, and so, so worth it. Even if you mess up a little, it’s always tastier than the store stuff! For more baking fun, check out the sweet potato cornbread recipe and make your next meal a whole bread-themed party. Bread, butter, garlic, it doesn’t get better. Now get in there and bake!
Related posts:
 How to Make Dango: A Classic Japanese Dessert You’ll Love
 Deliciously Simple Easter Egg Peanut Butter Haystacks Recipe
 Irresistibly Easy Sourdough Monkey Bread
 Best Thumbprint Cookies Recipe with Jam, Fruit Preserves, and Curd Fillings
 Healthy Mango Mousse Recipe (3 Ingredients, Easy No-Bake Dessert)
 Refined Sugar Free Mango Sorbet Recipe (Quick & Creamy)

 Main Dishes
 Drinks & Wellness