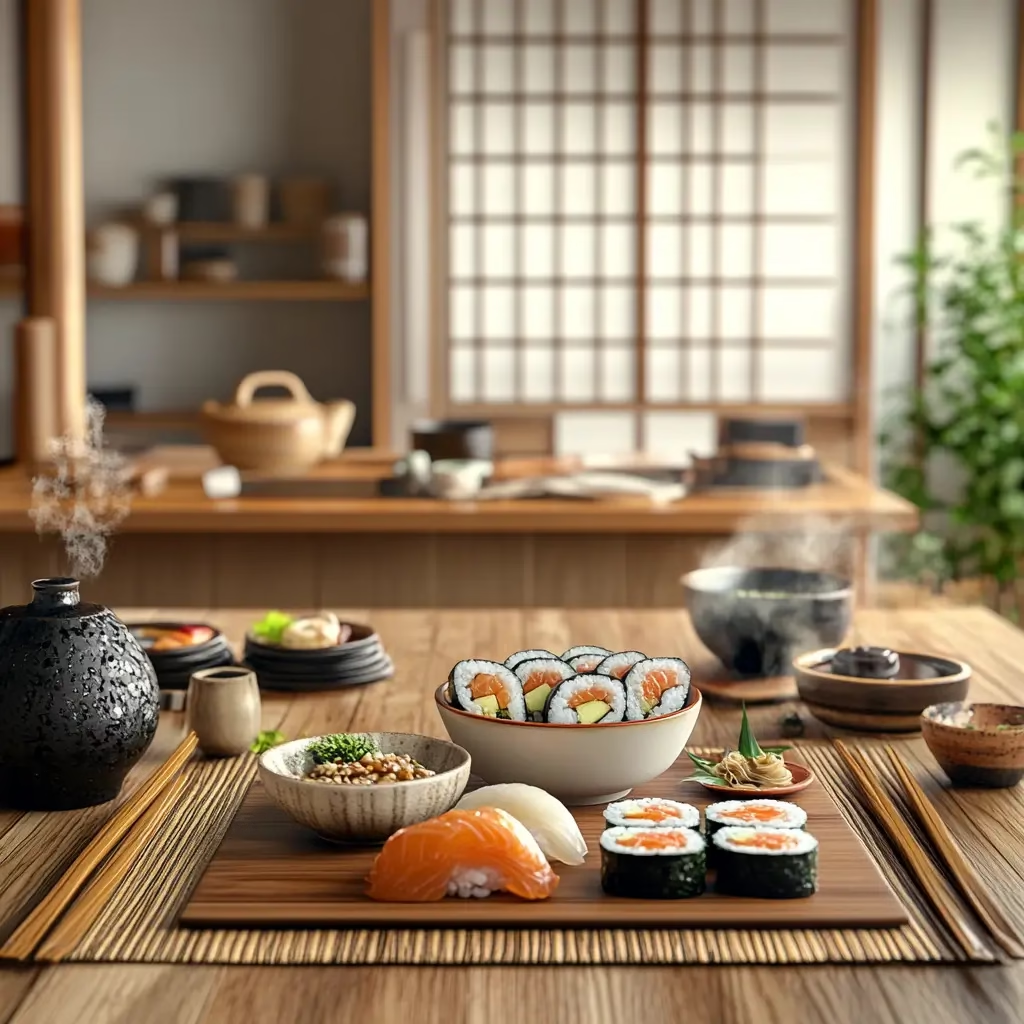
Did you know that many traditional Japanese recipes are actually easier to make than spaghetti and meatballs? I didn’t — until I found myself staring at a packet of miso paste in a tiny Tokyo grocery store, wondering what on earth to do with it. That was years ago. I had no idea then that I’d eventually fall in love with the quiet simplicity of Japanese cooking at home.
If you’ve ever felt like Japanese food is too complicated or too “restaurant-level,” I totally get it. I used to think the same. But after burning one too many pots of rice and finally figuring out the magic behind a good donburi bowl, I can honestly say: it’s not hard — it’s just different. And once you learn a few basics, dishes like miso soup, teriyaki chicken, and homemade sushi rolls become weeknight staples.
So if you’ve been curious about trying your hand at authentic Japanese meals, or just want easy Japanese recipes that actually work, you’re in for something special. Let’s dive in — chopsticks optional.
Looking to end your meal on a sweet note? Check out our guide to 10 traditional Japanese desserts you must try today and discover the perfect treats to complement these savory dishes!
1. Classic Miso Soup – A Comforting Start to Japanese Cooking
This is one of those Japanese recipes that sneaks up on you. It’s only a few ingredients, takes no more than 10–15 minutes, and yet it feels like a warm hug from the inside out. If you’ve never made it at home, now’s your moment.
You don’t need fancy stuff. Just miso paste, a bit of tofu, some dried seaweed, and broth. That’s it. Add green onions if you’re feeling fancy. Or toss in mushrooms, spinach, or even soba noodles if you’re hungry and improvising. I’ve done all of the above and never once regretted it.
Why This Miso Soup Works
- It’s flexible — Flexible add-ins
- It’s fast — on the table before your rice cooker even finishes
- It’s forgiving — no precision, no stress
Ingredients at a Glance
| Ingredient | Amount | Notes |
|---|---|---|
| Dashi broth | 4 cups | Homemade or instant granules |
| Miso paste | 2–3 tablespoons | White (mild) or red (stronger) miso |
| Firm tofu | ½ cup, cubed | Silken also works, but be gentle |
| Dried wakame | 1 tablespoon | Rehydrate in warm water before using |
| Green onion | 1 stalk, thinly sliced | Optional |
Tools You’ll Use
| Tool | Why You Need It |
|---|---|
| Medium pot | To gently heat the broth |
| Small bowl | To dissolve the miso paste separately |
| Ladle | For stirring and serving evenly |
| Sharp knife | To cut tofu cleanly without crumbling |
How To Make It – No Fuss, All Flavor
- Warm your broth. Don’t boil it, just heat it enough to see a bit of steam.
- Mix your miso separately. I usually scoop out a bit of the warm broth into a small dish, stir the miso in gently until smooth, and then slide it back into the pot like a little flavor bomb. That keeps the miso happy — boiling ruins its flavor.
- Add tofu and wakame. Give it a few minutes to warm through — the tofu and seaweed will do their thing and soak up all that delicious broth.
- Serve with green onions. Or don’t. Up to you.
Nutritional Benefits of Miso Soup
| Ingredient | Benefit |
|---|---|
| Miso (fermented soybeans) | Great for gut health thanks to natural probiotics |
| Tofu | A lean, plant-based protein that’s easy to digest |
| Wakame seaweed | Packed with iodine, calcium, and omega-3s |
| Dashi (with bonito flakes) | Rich in umami and provides trace minerals |
2. Easy Chicken Teriyaki – Sweet, Savory, and Ready in Minutes
This version? It’s the one I’ve landed on after dozens of tries. It’s quick, packed with flavor, and way better than anything I’ve ordered from takeout. Sweet, sticky, salty, and just enough glaze to make you want to lick the plate.
It’s one of those Japanese recipes that never lets you down — especially on nights when you want real food but don’t want to overthink it.
Why This Chicken Teriyaki Just Works
- You can make it faster than your rice cooker finishes
- It only uses a handful of ingredients — nothing weird or hard to find
- The sauce turns into a beautiful, glossy glaze that coats every bite
- You don’t need a wok or a background in culinary school — just a good pan and a hungry belly
Ingredients You’ll Need:
| Ingredient | Amount | What It Does |
|---|---|---|
| Boneless chicken thighs | 2 | Tastier than breast meat and hard to mess up |
| Soy sauce | ¼ cup | Base of the sauce — salty and rich |
| Mirin | 2 tbsp | Gives it sweetness and shine |
| Sake (optional) | 1 tbsp | Adds depth — or just skip it |
| Sugar | 2 tbsp | For that sticky-sweet finish |
| Vegetable oil | 1 tbsp | To crisp up the chicken |
| Green onion / sesame seeds | As much as you want | For garnish and extra flavor |
How to Make It:
- Get your pan hot first. I like to heat a bit of oil over medium heat while I pat the chicken dry. If you’re using skin-on thighs (which I totally recommend), place them skin-side down — you want that sizzle. Don’t move them around. Just let the skin do its thing and crisp up for a solid five minutes.
- While the chicken cooks, mix your sauce. In a small bowl, combine soy sauce, mirin, sugar, and sake (if you’ve got it — no big deal if not). Stir it up until the sugar disappears. Just leave it off to the side for now — we’ll come back to it once the chicken’s ready.
- Flip the chicken. Flip the skin over once it looks golden and crispy. Cook the other side until it’s cooked through — another 4–5 minutes, depending on how thick the pieces are.
- Add the sauce. Just pour it straight into the pan. It’ll bubble up, so lower the heat a bit and let the sauce simmer until it reduces. You’ll see it start to thicken and cling to the chicken — that’s your signal.
- Slice and drizzle. Pull the chicken out, slice it into strips, then spoon that sticky, caramelized sauce over the top. Garnish with green onions or sesame seeds if you’ve got ’em — totally optional but worth it.
- Serve right away. I usually put it over white rice with a side of greens. But honestly? I’ve eaten it cold out of the fridge, and it still tastes amazing.
Tools You’ll Need
| Tool | What It’s For |
|---|---|
| Non-stick skillet | To sear and glaze the chicken |
| Mixing bowl | To make the teriyaki sauce |
| Tongs or spatula | For flipping the chicken cleanly |
| Sharp knife | To slice for serving |
Why This Meal’s Actually Pretty Nutritious
| Ingredient | What It Brings |
|---|---|
| Chicken thighs | High in protein with iron and B vitamins |
| Soy sauce | Brings minerals like manganese |
| Mirin | Adds sweetness without needing syrup or honey |
| Sesame seeds | Healthy fats, fiber, and that signature crunch |
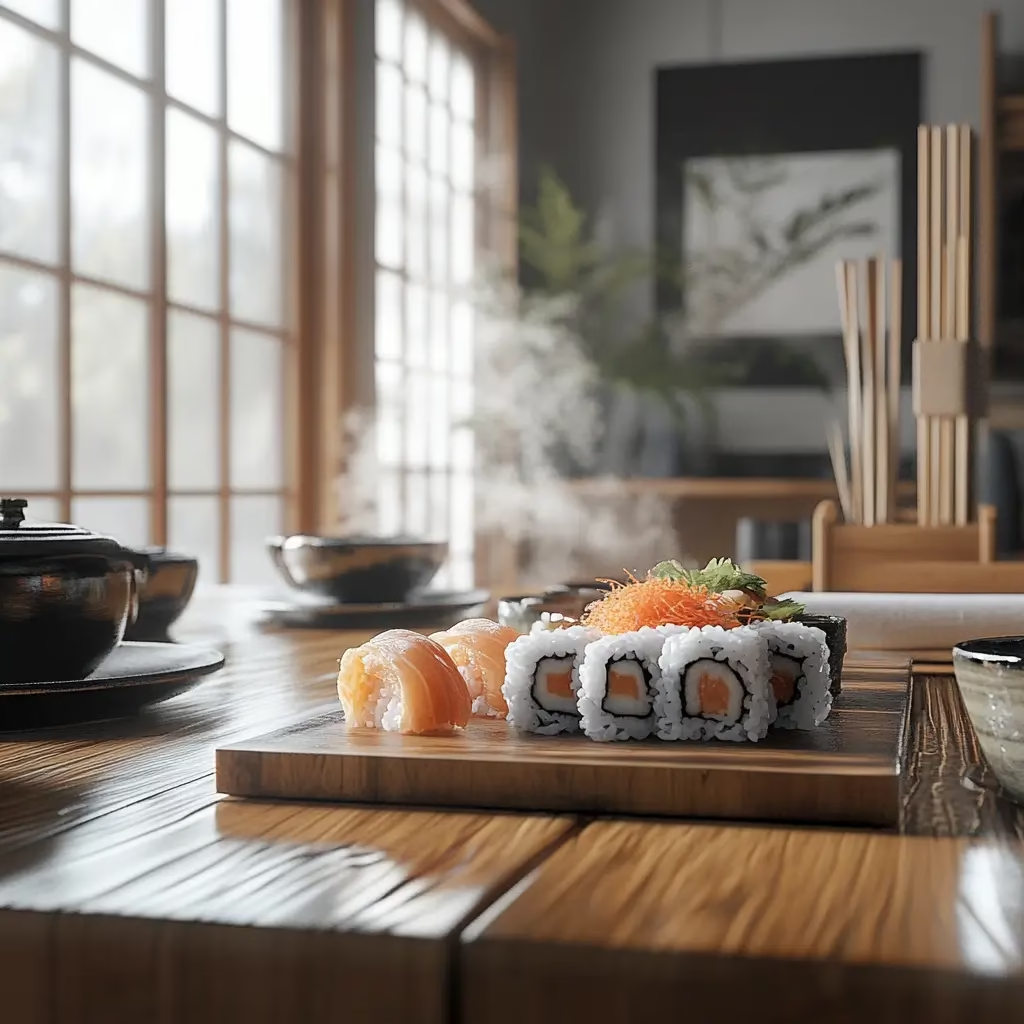
3. Homemade Sushi Rolls (Makizushi) – Fun & Easy to Roll at Home
Sushi might look fancy and complicated, but making homemade sushi rolls is surprisingly doable — and honestly, kind of fun once you get the hang of it.
Ingredients You’ll Need:
| Ingredient | Amount | Notes |
|---|---|---|
| Sushi rice (short-grain) | 2 cups (uncooked) | Cooked and seasoned |
| Nori sheets | 4 sheets | Cut in half for smaller rolls if needed |
| Rice vinegar | ¼ cup | For seasoning the rice |
| Sugar | 2 tablespoons | Mixed into the vinegar |
| Salt | 1 teaspoon | Also for rice seasoning |
| Fillings of choice | About 1 cup total | Cucumber, avocado, crab sticks, tuna, etc. |
| Soy sauce, pickled ginger, wasabi | To taste | For serving |
How to Roll Homemade Sushi (Without Losing Your Mind)
- Cook your rice first.
Use short-grain rice only. While the rice is still warm, mix in a splash of rice vinegar with a pinch of salt and a spoonful of sugar. Stir gently so you don’t smash the grains. Give it time to cool. - Lay down your seaweed.
Put your seaweed sheet down on a rolling mat with the textured side facing up. You’ll also want a little bowl of water nearby — it helps more than you’d think. - Spread the rice.
Dip your hands in water and spread a light layer of rice over the seaweed. Don’t press too hard — just enough to cover most of the surface. Leave an inch at the top edge bare — that’s your sealing zone. - Add the good stuff.
Lay your fillings in a straight line across the bottom third. Think thin slices — cucumber, avocado, cooked shrimp, or crab sticks all work great. - Roll it gently but firmly.
Lift the mat, roll it forward slowly, and keep light pressure as you go. When you reach the end, give it a soft press to hold the shape. - Slice and serve.
Use a sharp knife dipped in water. Cut in one motion — don’t saw. Clean the blade between cuts. Plate your sushi with a side of soy sauce and a few slices of pickled ginger if you’ve got some — it really balances out the flavors.
Tools You’ll Want
| Tool | Why You Need It |
|---|---|
| Bamboo sushi mat | Helps create tight, even rolls |
| Small bowl of water | Avoid sticking rice to your hands |
| Sharp knife | For slicing cleanly without squishing the roll |
| Rice cooker (optional) | For perfect sushi rice every time |
Nutritional Benefits of Homemade Sushi
| Ingredient | Why It’s Great |
|---|---|
| Sushi rice | Provides energy and keeps you full |
| Seaweed (nori) | High in iodine, B vitamins, and fiber |
| Fresh fillings (e.g., tuna, veggies) | Add protein, omega-3s, and antioxidants |
| Ginger + wasabi | Help with digestion and add spice |
4. Japanese Beef Gyudon – The Ultimate Japanese Comfort Bowl
If you’ve never tried gyudon, you’re in for something special. This humble Japanese beef bowl is one of those meals that somehow feels like fast food and homemade comfort all at once.
How to Make Beef Gyudon (Step-by-Step)
- Get your sauce going
Pour soy sauce, mirin, and sake (or water) into a pan, then add a touch of sugar. Give it a quick stir and let it warm gently — this is the base that gives gyudon its signature sweet-salty flavor. Let it warm up over medium heat. - Cook the onions first
Add thin-sliced onions and put them in the broth for some time. They’ll soak up all that flavor while they simmer — about 5 minutes. - Add the beef
Toss in your beef slices and stir gently. Since the meat is sliced thin, it only needs a couple of minutes to cook through. - Build the bowl
Scoop hot rice into a deep bowl, pile the beef and onions over it, and spoon some of the sauce on top. - Garnish and serve
Top it with sliced green onions, pickled ginger, or even a soft poached egg if you want to level it up.
Ingredients
| Ingredient | Amount | Notes |
|---|---|---|
| Beef (thinly sliced ribeye or sirloin) | ½ pound | Freezing the meat slightly helps when slicing |
| Onion | 1 medium, thinly sliced | Yellow or white both work |
| Cooked Japanese short-grain rice | 2 cups | Warm and fluffy — use fresh if you can |
| Soy sauce | ¼ cup | Main base of the sauce |
| Mirin | 2 tbsp | Adds sweetness and depth |
| Sake (or water) | 2 tbsp | Optional, but adds authentic flavor |
| Sugar | 1 tbsp | Balances the saltiness |
| Pickled ginger, scallions, egg (optional) | To garnish | Totally up to you |
Tools You’ll Need
| Tool | Purpose |
|---|---|
| Medium skillet or sauté pan | For simmering onions and beef |
| Rice cooker or pot | To cook Japanese rice |
| Cutting board + sharp knife | For prepping the onion and slicing beef |
| Bowls | For serving your gyudon |
Nutritional Benefits of Beef Gyudon
| Ingredient | What It Offers |
|---|---|
| Beef | Iron, protein, and vitamin B12 |
| Onions | Antioxidants and natural sweetness |
| Rice | Energizing carbs and essential minerals |
| Pickled ginger | Aids digestion and adds brightness |
5. Vegetable Tempura – A Crispy and Easy to Make Japanese Recipe
I used to think tempura was one of those “restaurant-only” things — the kind of dish you admire but never attempt. But after testing it at home (with a lot of flour on the floor), I found that vegetable tempura is not only doable, it’s shockingly easy.
- Quick fry time
- The batter is only 3 ingredients
- Ice-cold water and loose mixing
- Pairs with anything
How to Make Vegetable Tempura (Step-by-Step)
- Make the batter last minute
Right before frying, whisk an egg with ice-cold water, then add flour. Don’t overmix — clumps are totally fine. - Slice your veggies evenly
Cut everything into bite-sized, uniform pieces — think thin sweet potato rounds, zucchini slices, or halved mushrooms. If they’re too thick, they won’t cook through in the short fry time. - Heat your oil to 350°F (175°C)
Use a deep pan and enough oil to submerge the veggies halfway. - Dip and fry in small batches
Lightly dust veggies with flour first, then dunk into the batter and carefully lower into the oil. Drop in just a few veggies at once and let them sizzle until they’re crisp and lightly golden — it usually takes a couple of minutes per batch. - Drain and serve
Transfer each batch to a plate lined with paper towels so they stay crispy. They’re best enjoyed hot with your favorite dipping sauce — I like a splash of soy sauce mixed with freshly grated daikon when I’m keeping it simple.
Ingredients
| Ingredient | Amount | Notes |
|---|---|---|
| All-purpose flour | 1 cup | For the batter + extra for dusting |
| Cold water | 1 cup | Use ice water for best texture |
| Egg | 1 large | Whisked with the cold water |
| Vegetables (sweet potatoes, zucchini, mushrooms, etc.) | 2–3 cups, sliced | Cut thin and evenly |
| Vegetable oil | For frying | Canola or sunflower oil works well |
| Small bowl of dipping sauce (try soy with daikon, or a classic tentsuyu if you’ve got some) | To taste | Serve warm with tempura |
Tools You’ll Need
| Tool | Why You Need It |
|---|---|
| Mixing bowls (2) | One for batter, one for flour-dusting |
| Chopping board + knife | For prepping vegetables |
| Deep skillet or saucepan | To hold the frying oil |
| Slotted spoon or tongs | To remove fried veggies safely |
| Paper towels | For draining oil after frying |
Nutritional Highlights of Vegetable Tempura
| Ingredient | Benefits |
|---|---|
| Vegetables | Packed with fiber, vitamins, and antioxidants |
| Egg | Adds protein and richness to the batter |
| Oil (in moderation) | Provides energy — choose healthy oils when possible |
| Daikon or soy-based dipping sauce | Adds depth and digestive benefits |
6. Quick Yakisoba Noodles – A Flavorful and Easy to Make Japanese Recipe
If you’re anything like me, you need a few recipes in your back pocket that hit the sweet spot between quick and satisfying. Yakisoba is that dish. I discovered it while wandering through a Tokyo night market — noodles tossed on a sizzling flat grill, the smell of cabbage and pork in the air. It looked so simple, and that’s exactly what makes it great. Now I make this Japanese stir-fry at home in under 20 minutes, and it never disappoints.
Why This Yakisoba Recipe Just Works
- It’s a true one-pan meal — noodles, protein, and veggies in one dish
- Big flavors in a short cook time
- Flexible — use pork, chicken, or keep it meatless
- Satisfies takeout cravings without the mystery ingredients
How to Make Yakisoba Noodles (Simple Steps)
- Loosen your noodles
If you’re using packaged yakisoba, rinse them under warm water and gently separate them with your hands. Drain and set aside. - Sauté the meat first
Warm a splash of oil in your skillet. Add the meat and give it a quick stir — you want the edges to brown but not dry out. - Toss in the veggies
Stir in shredded cabbage, sliced carrots, and onions. Cook until just tender but still with some crunch — about 3–4 minutes. - Add noodles and sauce
Drop in your noodles and pour the yakisoba sauce over everything. Stir well so the noodles soak up all the flavor. - Garnish and serve hot
Top with pickled ginger or aonori if you like. Serve it out straight from the pan while it’s still steaming — no need to get fancy.
Ingredients for Yakisoba
| Ingredient | Amount | Details |
|---|---|---|
| Yakisoba noodles | 8 oz | Fresh or packaged; rinse if pre-cooked |
| Pork belly or chicken | ½ lb, thinly sliced | Optional — tofu also works |
| Cabbage | 1 cup, shredded | Green or napa |
| Carrot | ½ cup, julienned | Adds color and crunch |
| Onion | ½ small, sliced | White or yellow |
| Yakisoba sauce | ¼ cup | Store-bought or homemade |
| Pickled ginger / aonori | To taste | For garnish |
Kitchen Tools You’ll Need
| Tool | Why It’s Useful |
|---|---|
| Large skillet or wok | To stir-fry all components evenly |
| Cutting board + sharp knife | For prepping meat and vegetables |
| Tongs or chopsticks | For tossing noodles easily |
| Small mixing bowl | If making sauce from scratch |
Yakisoba Nutritional Highlights
| Ingredient | What It Adds |
|---|---|
| Noodles | Energy-boosting carbs |
| Pork or chicken | Lean protein and iron |
| Cabbage and carrots | Fiber, vitamins A and C |
| Ginger garnish | Digestive support and flavor balance |
7. Matcha Mochi – A Chewy and Easy-to-Make Japanese Recipe
I’ll be honest: the first time I tried making matcha mochi, it stuck to everything—my hands, the spoon, even the countertop. But once I figured out the rhythm (and how much cornstarch to throw around), it became one of my favorite quick desserts to make. If you’ve got some glutinous rice flour, matcha powder, and a bowl, you’re already halfway there. This little green gem is chewy, sweet, and just earthy enough to make you feel like you’re snacking with intention.
Why You’ll Want to Make This Again and Again
- It’s naturally gluten-free and just five core ingredients
- Steams up or microwaves in under 25 minutes
- You can Pair with coffee or tea.
- You can shape them into anything—balls, cubes, or stuffed pillows
Step-by-Step: How to Make Matcha Mochi
- Make the batter
Combine the rice flour, sugar, water, and matcha in a bowl. Whisk until silky and smooth—no lumps. If your matcha clumps, sift it first. - Cook it through
Cover the bowl and either steam it for about 20 minutes (stir halfway) or microwave in 1-minute bursts, mixing in between, until the texture gets thick and sticky like elastic dough. - Dust and chill
Dust your counter or tray with starch then, Pur the hot mochi and let it cool. It’ll look weird—just trust the process. - Shape it up
Once it’s cool enough to touch, dust your hands and tear off little hunks. You can leave them plain or stuff them with a surprise center—fruit, chocolate, bean paste, whatever you like. - Enjoy it fresh
This dessert is best within a day. If you store it, seal it up tight so it doesn’t dry out.
Matcha Mochi Ingredients
| Ingredient | Amount | Details |
|---|---|---|
| Glutinous rice flour (mochiko) | 1 cup | Only this flour gives that signature chew |
| White sugar | ½ cup | Balance the matcha’s bitterness |
| Water | ¾ cup | Cold or room temperature |
| Matcha powder | 1 tbsp | Culinary-grade is fine, sift before using |
| Cornstarch or potato starch | Enough for dusting | Trust me—you’ll need plenty |
Tools You’ll Need
| Tool | Use |
|---|---|
| Microwave-safe bowl or steamer | Either method works—your choice |
| Rubber spatula | To stir the dough as it thickens |
| Tray or counter | For cooling and shaping the mochi |
| Sifter or small mesh strainer | Helps break up lumpy matcha powder |
Matcha Mochi Nutritional Highlights
| Ingredient | Benefit |
|---|---|
| Matcha | Antioxidants, mild caffeine, calming L-theanine |
| Glutinous rice flour | Provides that satisfying chew while being gluten-free |
| Low-oil recipe | No frying, no butter — just steam and sweeten |
Wrap Up Your Japanese Cooking Adventure – Time to Get Cooking!
Ready to Dive Into Japanese Cooking? Let’s Get the Wok Going!
There you have it — 15 easy-to-make Japanese recipes that prove you don’t need a passport (or a professional chef’s diploma) to enjoy bold, comforting, and authentic flavors right in your own kitchen. Whether you’re searing salmon, rolling your first sushi, or just trying to get your miso to dissolve without drama, there’s a little something here for every home cook.
Now go on, fire up the stove, and bring a little Japan into your kitchen tonight. You’ve got this.
Frequently Asked Questions About Easy-to-Make Japanese Recipes
The top 10 Japanese foods include sushi, ramen, tempura, miso soup, teriyaki, udon noodles, takoyaki, okonomiyaki, yakitori, and Japanese curry rice. These dishes showcase the variety and depth of Japanese cuisine.
Three classic Japanese dishes are miso soup, sushi, and tempura. These staples are easy to make and reflect the essence of traditional Japanese cooking.
Authentic Japanese food emphasizes seasonal ingredients, balance, and umami flavors. Dishes like sashimi, miso soup, and traditional sushi are great examples of true Japanese cuisine.
Sushi is arguably the most famous Japanese food, celebrated worldwide for its simplicity and fresh flavors.
Absolutely! Each recipe is designed to be simple and accessible, making it perfect for beginners who want to explore Japanese cooking.
Common Japanese pantry staples include soy sauce, miso paste, mirin, sake, dashi, and rice vinegar—essentials for creating authentic flavors in your dishes.
Yes! Many of these easy-to-make Japanese recipes can be adapted. For example, swap out meat for tofu or mushrooms and use plant-based dashi for soups.
You can find Japanese ingredients at Asian grocery stores, local supermarkets with international sections, or online specialty shops.
If you’re new to Japanese cooking, start with miso soup or teriyaki chicken—both are simple, delicious, and use easy-to-find ingredients.