
Dango is that little chewy, slightly mysterious, and always adorable Japanese dessert you’ve probably spotted at festivals, anime, or maybe even your local Asian market. When I first stumbled on it at a spring festival, I totally panicked about how to recreate it at home.
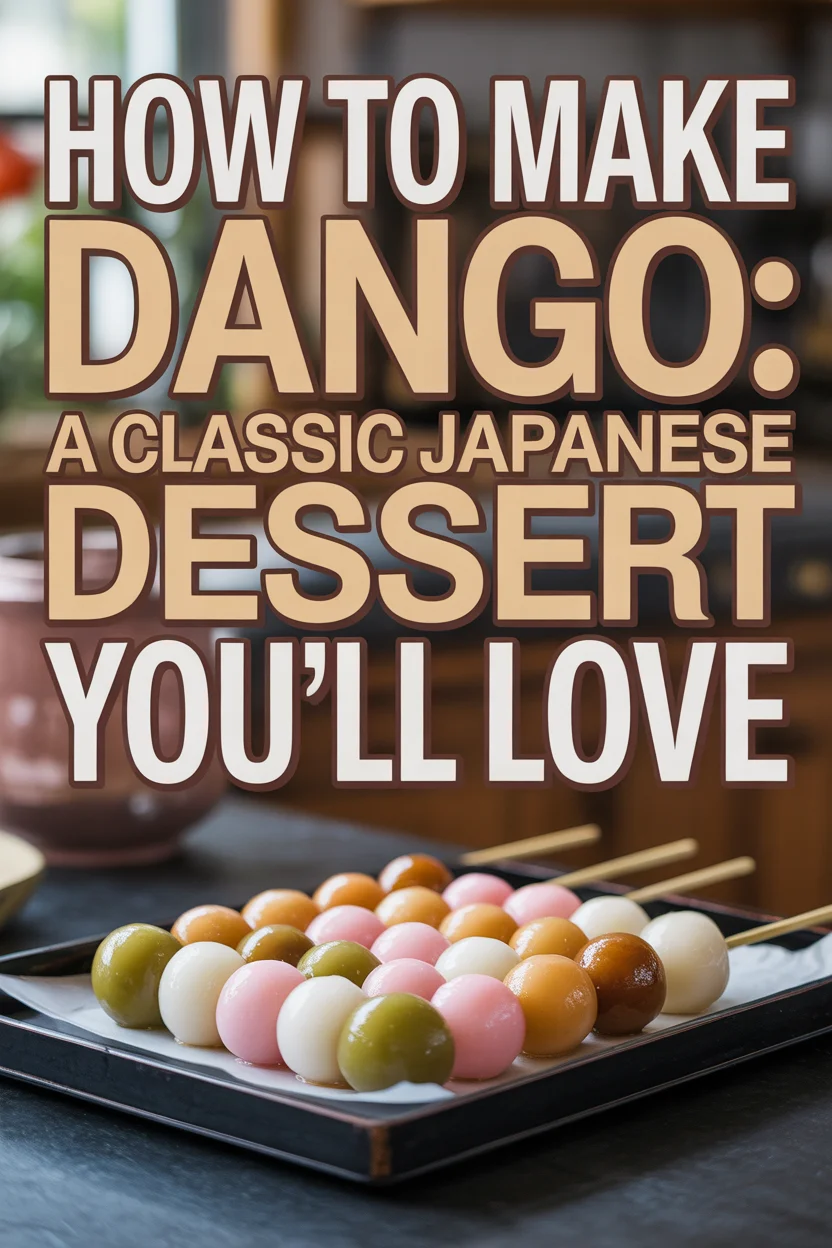
I had no clue what half the ingredients were, let alone how to make them taste legit. But, once I found out how easy it actually is, my kitchen has turned into a dango production center every April (and honestly, just when I crave them). If you’re dreaming about making your own, you’re in the right spot. Oh, and if you’d rather just jump straight to the recipe instructions check my How to Make Dango: A Classic Japanese Dessert You’ll Love guide.
Ingredients for Authentic Hanami Dango
Okay, you don’t need any fancy culinary degree for this. Traditional Hanami Dango uses just a handful of ingredients, and thankfully, most are easy to grab if you’ve got an Asian supermarket nearby.
Print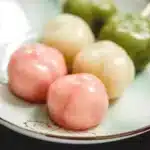
Hanami Dango
- Total Time: 40 minutes
- Yield: 4 pieces
Description
A delightful and colorful Japanese dessert made from glutinous rice flour, often enjoyed during cherry blossom season.
Ingredients
Dango Dough Ingredients
- 120 grams Shiratamako (short-grain glutinous rice flour) (Don’t mix it up with mochiko)
- 100 grams Regular rice flour (joshinko)
- 80 ml Water (Adjust based on humidity)
- 2 drops Pink food coloring (For the classic spring version)
- A bit Matcha powder (For green dough flavor)
- 50 grams Sugar (Adjust to taste)
Instructions
Preparation
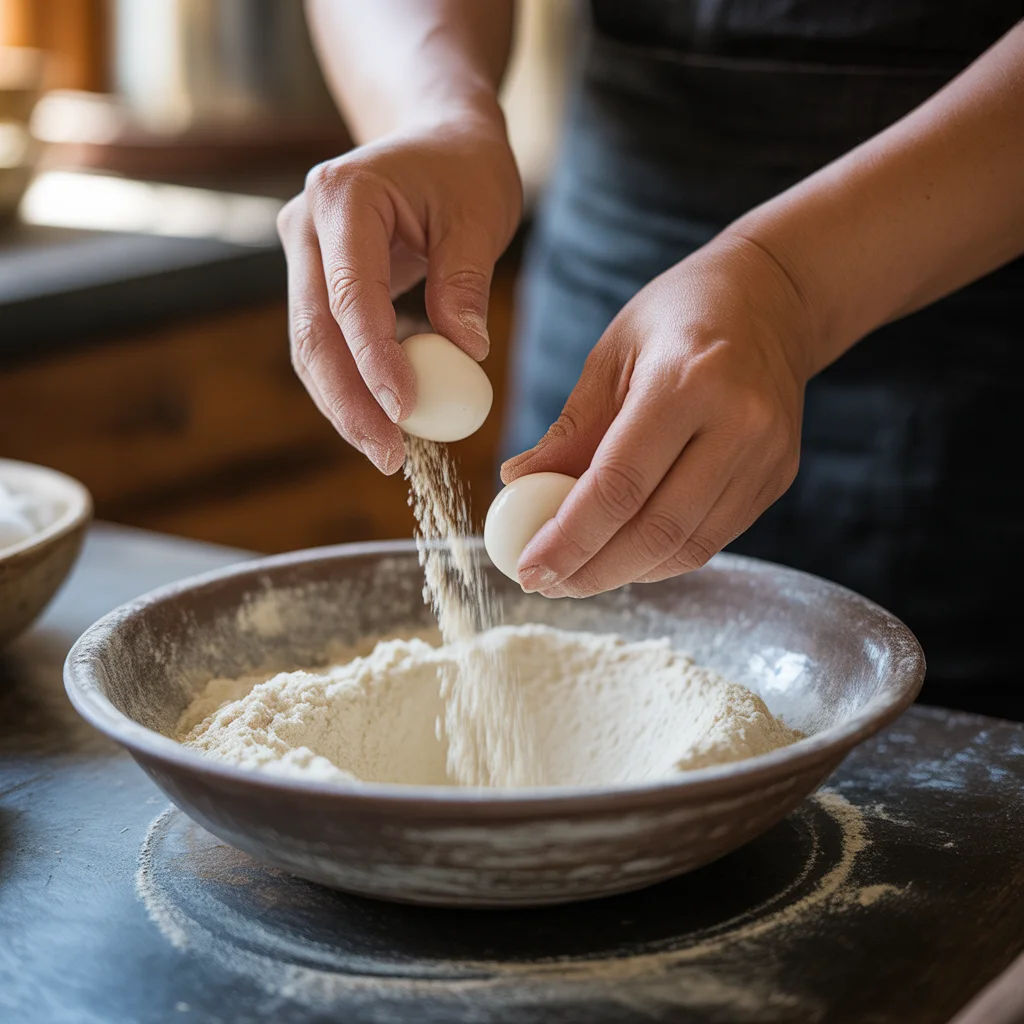
- Combine rice flours and sugar in a large bowl. Mix gently.
- Slowly pour in water, mixing until you achieve a dough that is thicker than Play-Doh.
- Divide the dough into three equal parts. Leave one part white.
- Knead pink food coloring into one part, and matcha into the other part, mixing until consistent.
Cooking Process
- Boil a pot of water. Form the dough into grape-sized balls.
- Drop the balls into boiling water. Wait until they float, about 2-3 minutes.
- Using a slotted spoon, transfer the floating dango to ice water to stop the cooking process.
- Drain on a towel before skewer assembly.
Assembly
- Thread the dango onto skewers: pink first, then white, and green last.
- Press the balls close together to prevent them from falling off.
Notes
Add water slowly to achieve the correct dough consistency. Sifting flours can improve texture. Don’t overboil to maintain chewiness.
- Prep Time: 30 minutes
- Cook Time: 10 minutes
- Category: Dessert, Snack
- Cuisine: Japanese
- 120 grams Shiratamako (short-grain glutinous rice flour, don’t mix it up with mochiko)
- 100 grams Regular rice flour (joshinko)
- About 80 ml water (but, honestly, you’ll use more or less depending on humidity and flour brand)
- 2 drops pink food coloring (the classic spring version, you know)
- A bit of matcha powder (for the green dough)
- Sugar (about 50 grams, adjust if you’re got a real sweet tooth)
Most times, I sort of wing it with the coloring. The pastel pop is for looks, not flavor. I highly encourage random color blobs, too.
Tools & Equipment You’ll Need
You’re not building a rocket here. But don’t skip these or you’ll end up with sticky, sad doughocalypse. Trust me.
A mixing bowl is your MVP. A rubber spatula helps keep goo off your fingers. You’ll also want small bowls for mixing in colors. For cooking, either a large saucepan or medium pot is fine, just don’t overcrowd those little dumplings while they boil. Oh, and you’ll need skewers to assemble the finished dango. Wooden ones are classic, but… whatever won’t split works.
Sometimes, I use a little kitchen scale to keep the balls sort of the same size. It looks cuter that way, for real.
Step-by-Step Hanami Dango Preparation
Okay, time to get your hands in the flour! Start by combining your rice flours and sugar in a large bowl. Give it a quick mix (not too aggressive, or clouds of flour everywhere, learned that the hard way). Next, slowly pour in the water, bit by bit, while mixing. You’re aiming for something just a smidge thicker than Play-Doh.
Now, here’s the fun, messy bit split the dough into three equal parts. One stays white. Knead pink color into another. Same idea for the green, but use matcha. Don’t get hard on yourself with the coloring, or you’ll end up with Hulk-green dessert. Knead each until color spreads. Sometimes I wear gloves because the food dye situation can turn your hands wild.
Cooking Process
Boiling! Yes, the cooking part is magically easy but you’ve got to pay attention. Get a pot of water rolling on the stove. Form your dough into balls (golf ball size is too big, think grape-ish) and gently drop them in. They’ll sink. Wait for them to float like tiny jellyfish, maybe 2-3 minutes tops.
Now scoop those floaters out with a slotted spoon (or mesh thingy). Plop them into ice water. Stops them cooking so they stay that bouncy, dreamy texture. After a minute or so, drain them off on a towel. Do not skip the cold shock. Chewy, not mushy, is the move.
How to Assemble the Skewers
If you’ve ever seen a Hanami Dango skewer, it’s always three little balls a pink, a white, and a green stacked up snug. Grab your skewers. Gently thread on the pink one first, then white, then green. If they’re still a little sticky, dab your fingers with water before handling.
I’ll admit I drop a couple every time. Kids love helping at this step, but honestly it’ll get a bit chaotic, embrace the mess. Press them close together so they don’t fall off when you pick up the stick. Bam, you’re done.
“I’d never made dango before but this method actually made it doable. My family loved it and now it’s my go-to party treat!” – Andrea, Ohio
Tips for Perfect Texture Every Time
I’ll be real, my first batch turned out like little rocks. Here’s what I learned: Add your water slowly! Too much and dough gets gooey, too little and it cracks. You want just enough for the dough to hold together, but not stick like glue to your palms.
Sift your flours if you want that five-star restaurant smoothness. I think using a kitchen scale for those equal pieces really does wonders. Don’t overboil; you’ll lose that beautiful chew. And always like, always shock them in ice water. Game changer. If they’re sticky, let them dry for a minute before skewering.
Serving Suggestions
People get weirdly creative here. Me, I serve Hanami Dango just like at the festivals but you can totally mix it up.
- Lay out a platter of dango sticks for a spring picnic
- Try dipping them in sweet soy sauce for salty-sweet combo magic
- Dust with a bit of kinako (roasted soybean flour) for extra nutty oomph
- Pair with green tea or, if you’re wild, matcha lattes
Kids go wild for these, adults get nostalgic, and trust me you’ll look like a dango pro even with some lopsided balls.
Storage & Shelf Life
I hate stale dango. It’s tragic. If you’ve got leftovers, put them in an airtight container and stick them in the fridge. They’re best within a day but still okay the second day. After that, they’re kinda sad. Don’t freeze them, though. Texture gets all weird. If you’re prepping ahead, just make the dough and boil them fresh before serving. Dango that’s sat in the fridge turns a bit tougher by day two, so zap it in the microwave with a wet paper towel to gently revive that chew.
What is Hanami Dango (Sanshoku Dango)?
Hanami Dango sometimes called Sanshoku Dango, is basically a fruity, pastel treat you see everywhere in Japan during cherry blossom time (hanami). Three colors represent spring: pink for flowers, white for purity, green for growth. They’re not sweet like Western desserts but have a subtle, calming taste I just love.
There are other dangos out there too, but hanami dango is that iconic festival food, eaten while you picnic and watch cherry blossoms fall. It’s more a symbol of the season than just a snack. For more cultural background and recipe tips, check the details about how to make dango a classic Japanese dessert you’ll love right here.
| Ingredient | Quantity | Notes |
|---|---|---|
| Shiratamako | 120 grams | Short-grain glutinous rice flour |
| Regular rice flour | 100 grams | Known as joshinko |
| Water | 80 ml | Adjust based on humidity |
| Pink food coloring | 2 drops | For the classic spring version |
| Matcha powder | A bit | For green dough flavor |
| Sugar | 50 grams | Adjust to taste |
Dango vs. Mochi – Key Differences
Here’s a question I get all the time. Aren’t dango and mochi the same thing? Actually, not quite. Yes, both use rice flour, but mochi gets its signature gooeyness from pounding sticky rice into a stretchy paste sometimes with tears involved (kidding, but not really). Dango is easier, just mixing rice flours into dough.
The texture’s where you notice the difference. Mochi is super stretchy. Dango’s more bouncy and smooth. Plus, dango comes on skewers way more often, and it’s not stuffed with fillings like mochi often is. So, close cousins, but totally different personalities.
Common Questions
You can use mochiko in a pinch, but texture’s not as dreamy. Try to hunt for shiratamako for the real deal.
Technically, nope. But the three-color look is what makes Hanami Dango… Hanami Dango! Natural powders work too.
Yep. Since it uses rice flours, it’s naturally gluten-free. Always double-check labels if you’re sensitive though.
Eat it fresh! That’s the move. If storing, a quick microwave (with a damp paper towel) helps soften it back up.
Absolutely. It’s basically edible Play-Doh. They’ll have a blast helping with the colors and shaping. Just beware of the sticky fingers situation.
Ready to Roll Some Dango Magic?
So, that’s my obsession with dango wrapped up for you. With a few simple ingredients and a free hour, you can pull off this adorable treat without stressing, even if your balls come out a bit, well, “rustic.” People will be wowed, I promise. If you want a step-by-step visual walk-through, there are lots of helpful step by step and cultural deep dives for Japanese cooking. Please, try it! You’ll fall in love with the tradition and taste, I know I did. Don’t forget to follow us on pinterest.
Related posts:
 Sakura Mochi: A Japanese Dessert You Can Easily Make at Home
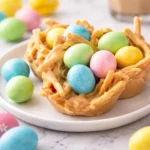 Deliciously Simple Easter Egg Peanut Butter Haystacks Recipe
 Irresistibly Easy Sourdough Monkey Bread
 Best Thumbprint Cookies Recipe with Jam, Fruit Preserves, and Curd Fillings
 Hong Kong Style Mango Pancakes (Mango Crepe Recipe) – Easy Viral Dessert
 Strawberry Shortcake Puppy Chow Recipe (Easy No-Bake Muddy Buddies)

 Main Dishes
 Drinks & Wellness