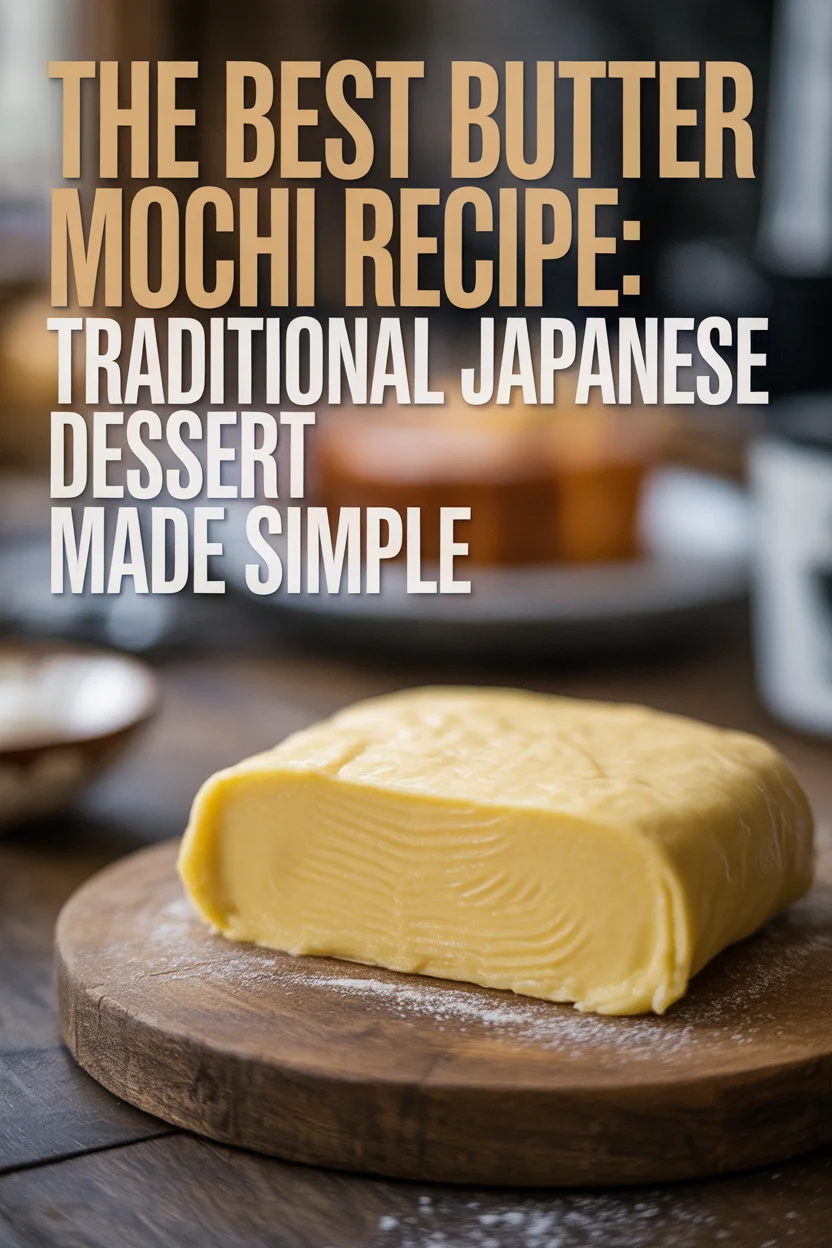
Butter mochi was my first “what is THIS?!” moment at a friend’s potluck. I showed up with supermarket cookies, embarrassed, while someone else basically stole the show with a pan of butter mochi. I see you, if you’ve stared at your kitchen wishing for a dessert that’s chewy but with that “wow, buttery!” finish, you’re in the right spot.
This treat is like the easier, happier cousin of pound cake and brownies combined, just more Japanese and way less fussy. (If you want a slightly different mochi experience, check out this recipe for sakura mochi you can easily make at home.) Let’s get into the nitty gritty of what makes the best butter mochi recipe so awesome.
Ingredients You’ll Need for the Best Butter Mochi
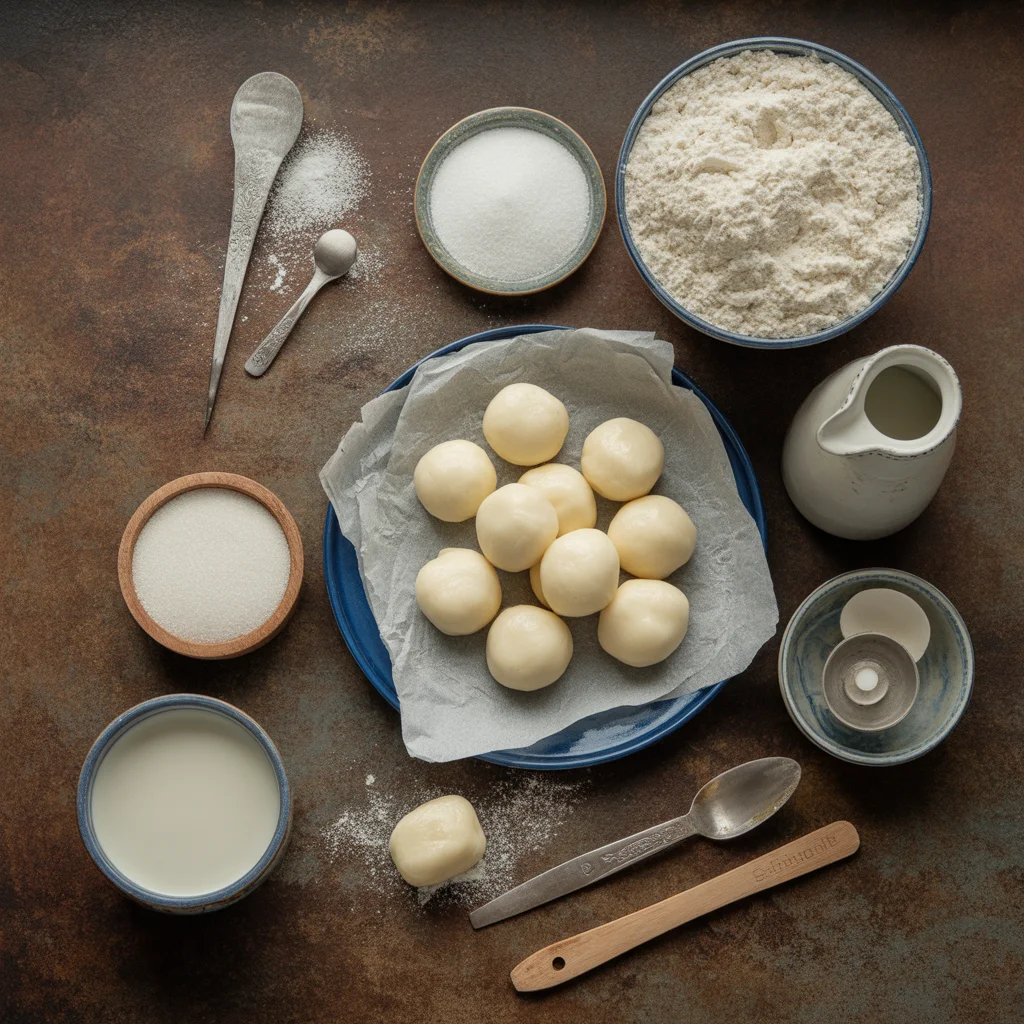
Alright, you actually don’t need anything weird or hard to find. But the main thing? Mochiko flour, which is sticky rice flour, not “rice flour” (more on this below). Here’s what goes in:
Print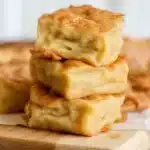
Butter Mochi
- Total Time: 1 hour 15 minutes
- Yield: 12 slices
Description
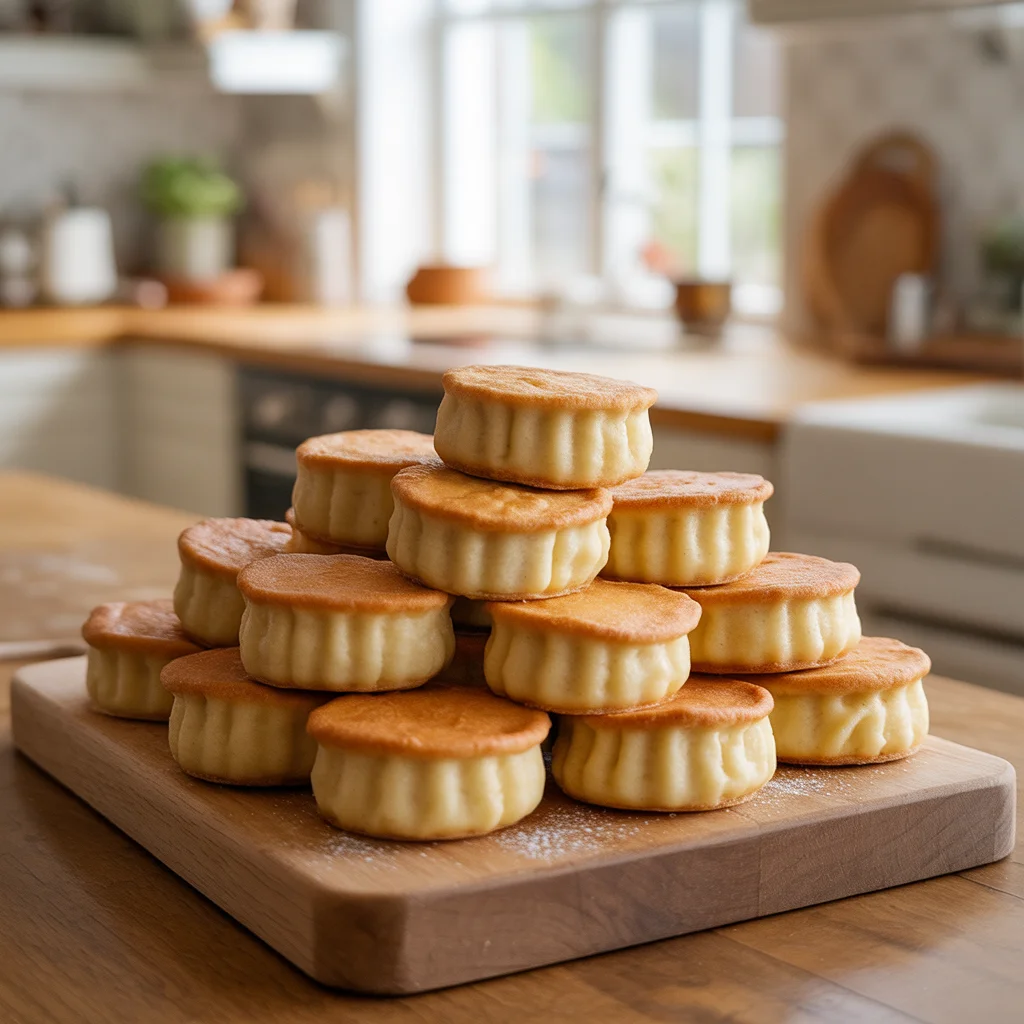
A chewy, buttery dessert that’s an easy mix between pound cake and brownies, bringing a unique Japanese twist to your dessert table.
Ingredients
Main Ingredients
- 2 cups mochiko (sweet rice flour) (Do not substitute with regular rice flour.)
- 1.5 cups granulated sugar (Brown sugar can be used as an alternative.)
- 1 can coconut milk (13.5 oz, full-fat) (Make sure to use full-fat coconut milk for better texture.)
- 2 tsps baking powder
- 4 large eggs
- 0.5 cups unsalted butter, melted (Salted butter can be used, reduce added salt if using.)
- 1 tsp vanilla extract
- 1 cup regular milk
- 1 pinch salt (Optional)
Instructions
Preparation
- Preheat the oven to 350°F (175°C) and grease a 9×13 inch baking pan.
- In a mixing bowl, combine the mochiko flour, sugar, baking powder, and salt (if using).
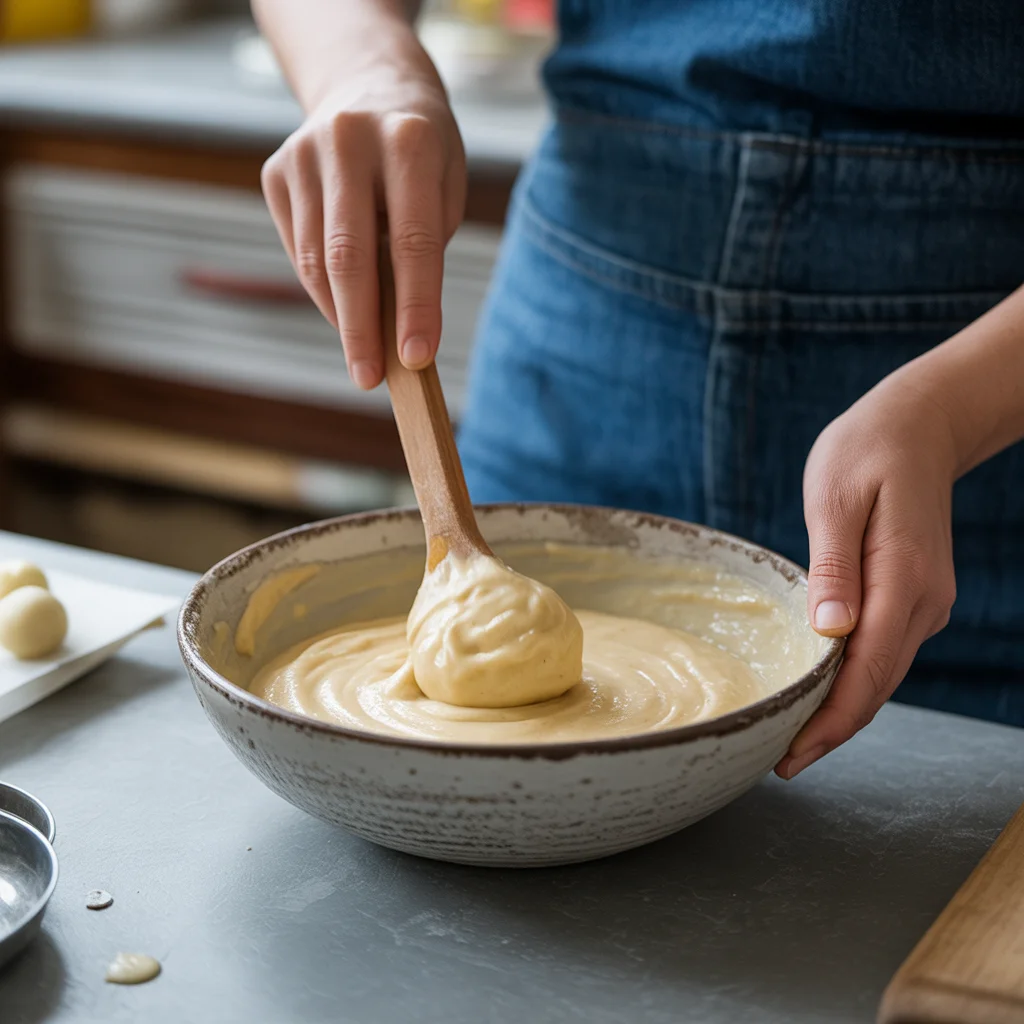
- In another bowl, whisk the eggs, then add coconut milk, regular milk, vanilla extract, and melted butter. Mix well.
- Stir the wet ingredients into the dry ingredients until combined. Don’t worry if the mixture is a little lumpy.
- Pour the batter into the prepared baking pan.
Baking
- Bake for 50-60 minutes or until the top is golden brown and a toothpick comes out clean. Edges should feel slightly bouncy.
Cooling and Serving
- Allow the butter mochi to cool before slicing into squares.
- Serve plain or dusted with powdered sugar, enjoy with fresh berries or with tea or coffee.
Notes
For variations, try swapping vanilla for almond extract, adding coconut shreds, or matcha. Let the melted butter cool to avoid scrambling the eggs. Store in an airtight container at room temperature for up to 2 days, or refrigerate for up to 4 days.
- Prep Time: 15 minutes
- Cook Time: 1 hour
- Category: Dessert, Snack
- Cuisine: Japanese
- 2 cups mochiko (sweet rice flour)
- 1½ cups sugar (Granulated works, but brown sugar fans legend has it is fine too.)
- 1 can coconut milk (13.5 oz, the full fat version, not the watery one.)
- 2 tsp baking powder
- 4 large eggs
- ½ cup unsalted butter, melted (If you’re chaotic, salted is okay, just reduce added salt.)
- 1 tsp vanilla extract
- 1 cup regular milk
- Optional: Pinch of salt
Mochi rules: skip the substitutions for mochiko or you will get something other than butter mochi. Trust me, I’ve tried.
Equipment and Tools for Perfect Butter Mochi
I think everyone wonders if fancy gadgets make a dessert taste better. Nope. You’ll need basic stuff:
A 9×13 inch baking pan.
A whisk (or a big fork if you’re desperate).
Mixing bowls.
Oven.
Rubber spatula for scraping every gooey bit.
That’s it. If I find myself making this at someone’s house, there’s always a way with just these. Don’t overthink it.
Step-by-Step Instructions: How to Make Butter Mochi
Here’s how I walk through this, don’t blink, it’s that easy:
First, oven at 350°F. Grease up that pan.
Mix all the dry stuff in one bowl: mochiko, sugar, baking powder, and (if using) salt.
Melt the butter! It smells so good.
In another bowl, whisk eggs, then add coconut milk, regular milk, vanilla, and your melty butter.
Stir wet and dry together. Don’t panic if it’s a little lumpy. Go slow, get it mostly smooth.
Pour everything into your pan, no need to swirl or layer.
Bake for about 50-60 minutes. Top turns golden, toothpick comes out clean, edges look a little bouncy.
Cool before slicing. If you can wait, props to you because I usually can’t.
You’ll end up with buttery, chewy blocks that disappear mysteriously fast.
Pro Tips for Making the Best Butter Mochi at Home
Okay, not to sound braggy but after way too many pans of butter mochi (testing, obviously), these are my not-so-secret secrets. Let the melted butter cool down before mixing with eggs. Otherwise, scrambled eggs..not so tasty. Don’t rush the mixing. Lumps are normal but big streaks of dry flour? Nope. Scooping out the last bits of batter from the bowl is worth it. Watch the oven in the final 10 minutes. Color should turn a bit caramel-y, but not dry or hard. Some folks like a crisp edge, I’m team chewy middle. Slicing when warm = disaster. Hold your horses till it gets to room temp, then cut.
I brought butter mochi to a bake sale once and it was the first thing gone. People literally begged for the recipe. It’s just that good! – Jamie L.
Flavor Variations and Creative Twists
Classic butter mochi rocks, but fiddling is half the fun if you ask me. Swap the vanilla for almond extract for a nutty vibe. Feeling tropical? Sprinkle coconut shreds on top. Matcha powder (just 1-2 Tbsp, not more or it’s bitter) transforms it into a green treat. Chocolate chips or a swirl of black sesame paste? Judge me, but it’s amazing. You can double down on the butter if you want richer flavor. Or, for a totally different twist, check out the best japanese desserts with step-by-step recipe cards for inspiration. Life’s too short for boring desserts, right?
Serving Suggestions for Butter Mochi
Honestly, you can just eat these plain and be happy. But if you want to make your snack look intentionally five-star, here’s what to try:
- Cut into chunky or dainty squares for parties
- Dust with powdered sugar before serving
- Serve with fresh berries on the side
- Pair with strong green tea or coffee
Bring leftovers for a work coffee break. Your desk buddy will owe you forever.
Storage and Make-Ahead Instructions
So, butter mochi keeps really well. Store in an airtight container at room temp for 2 days, if it lasts that long, which it won’t. Fridge stretches it to 4 days, but let it warm to room temp before eating. It gets chewier, which is kinda nice. Freezing? Actually works. Just wrap squares in cling film, pop in a zip bag, and freeze for up to a month. Thaw overnight and snack away.
Common Mistakes to Avoid When Making Butter Mochi
Let me tell ya, butter mochi can go sideways if you’re not careful. If you leave it in too long, it’ll dry out. Instead of relying only on the timer, check doneness with a quick toothpick test. Using regular rice flour or the wrong flour? Sadly, no go. It won’t turn chewy, just weird and crumbly. Pouring hot butter over eggs is a rookie mistake I made. Eggs cook too soon and you’re stuck with bits, not batter. Cutting before it’s cool is another sadness, messes everywhere. Stick to the good stuff and it’ll be perfect.
Butter Mochi for Special Diets
If you’re baking for gluten-free friends, guess what? Mochiko is naturally gluten-free! Dairy-free folks can swap the milk for any alt milk, and use vegan butter. I haven’t had luck with egg substitutes personally, but if you try, let me know. This treat’s pretty forgiving, but I’d skip coconut milk alternatives because, flavor. If you want totally vegan, try a flax egg, but results are softer.
Can I Use Regular Rice Flour Instead of Mochiko?
Short answer, don’t. Mochiko is weirdly magical, it’s what makes butter mochi chewy, not gritty. Trust me, I’ve gone down that road just to save a trip to the store and got disappointment instead of dessert. There’s no swap that really nails it. Stick with mochiko if you want the real deal.
Why Is My Butter Mochi Too Dense?
Whew, been there. That usually means too much flour or not enough leavening. Sometimes it’s overmixing, too. Gently fold, don’t beat, or it gets gummy. Oh, and make sure baking powder’s fresh. Once I used an expired can and ended up serving “mochi bricks”. Lesson learned.
How to Scale the Recipe for Large Gatherings and Bake Sales
The best butter mochi recipe is perfect for groups! If you double it, use two pans, otherwise, it won’t bake through. For bake sales, cut into mini cubes so everybody gets a taste. If you scale down, 8×8 pans work for small batches. The bake time changes a bit, so keep an eye on it as it bakes.
Pairing Butter Mochi with Seasonal and Holiday Menus
You know what? Butter mochi fits anywhere. For spring, serve with strawberries or sakura tea. Autumn? I add a sprinkle of cinnamon on top or stir in pumpkin spice. Christmas trays? Cut into little stars and people seriously flip out. It’s a gem at potlucks, brunches, and holiday snack plates. There’s really no wrong time for butter mochi, if you ask me.
Why You’ll Love This Chewy Classic
So, making the best butter mochi recipe is honestly a no-stress win. Once you grab mochiko, you’ll see, this is easier than brownies and truly unique. If you love chewier, richer, more unforgettable desserts, this is your next baking project. Don’t overthink it, have a little fun, and for more Japanese treats hop over to our facebook page for inspiration. You’ll never look at regular cake the same way!
Related posts:
 How to Make Dango: A Classic Japanese Dessert You’ll Love
 Apple Rhubarb Pie Recipe: How to Make It Perfect Every Time
 Spooky Sweet Halloween Popcorn Mix: A Treat for Your Ghouls!
 Pumpkin Cupcakes Recipe to Savor This Fall
 Orange Chocolate Truffles Recipe: Easy Homemade Holiday Treat
 Red Velvet Blossoms Cookies To celebrate Christmas

 Main Dishes
 Drinks & Wellness