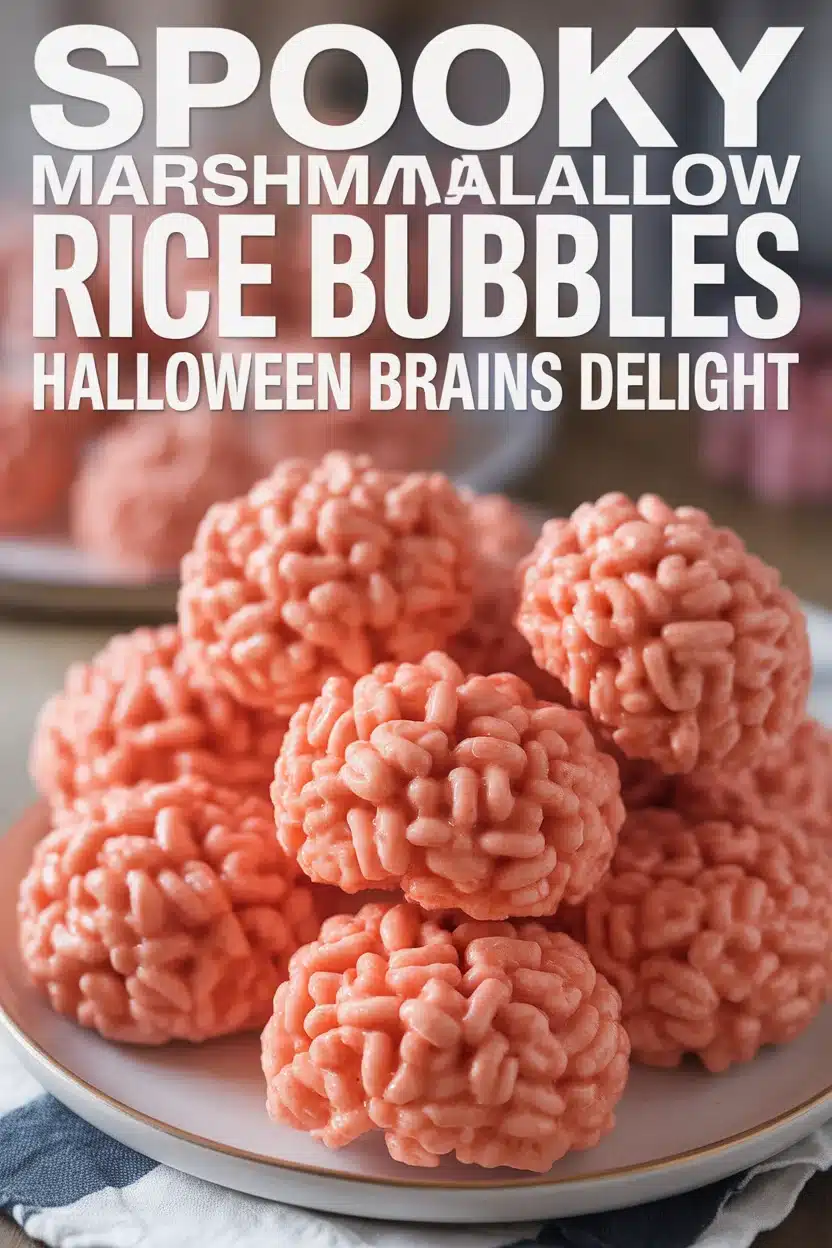
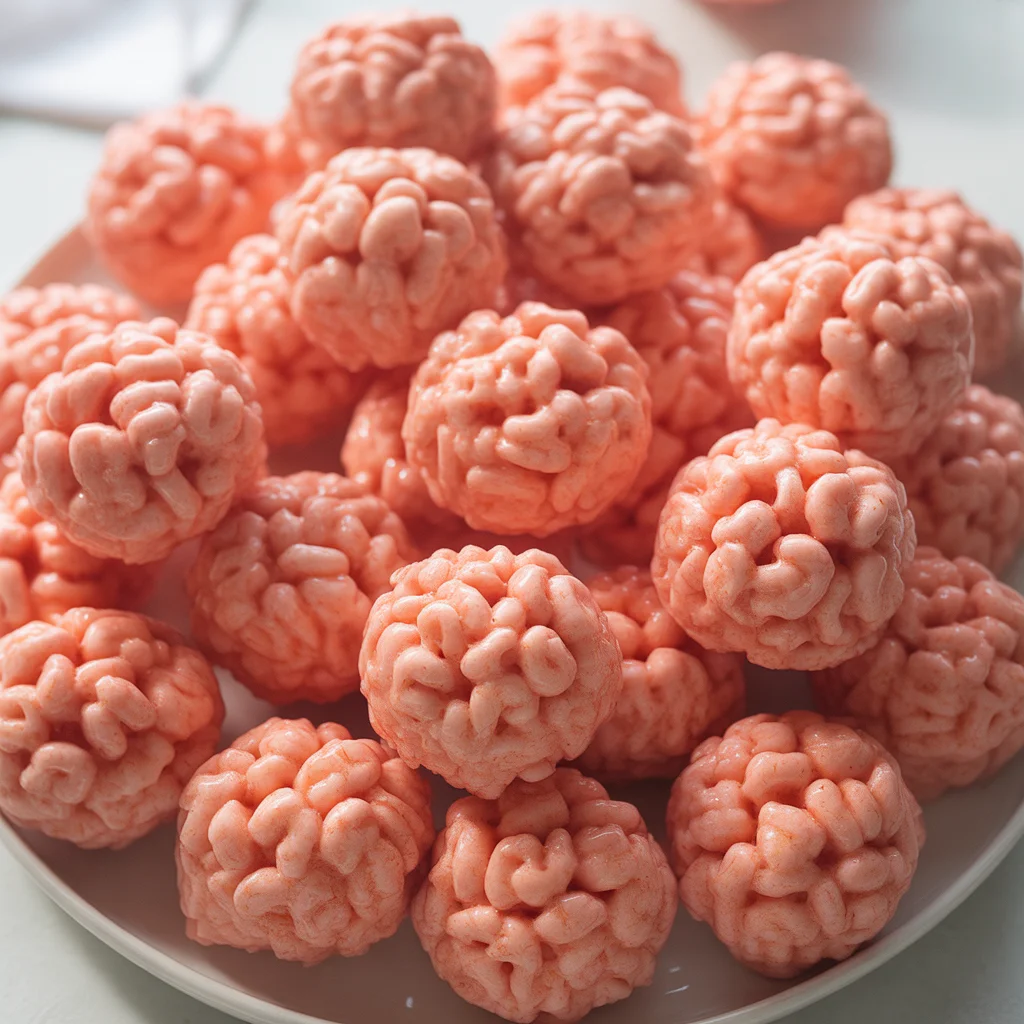
Marshmallow Rice Bubbles Halloween Brains are basically magic for any Halloween party, trust me. If you’ve ever stood in the kitchen, panicking because your store-bought spooky snacks look sort of… well… not spooky at all, you are not alone. The first time I tried to make anything “festive,” it turned into a massive sugar bomb (my kitchen was sticky for a week).
Luckily, these brain-shaped treats are way less messy and way more fun. Also, they’re actually easy. You want something weird for your October bash? This is it. Loads more fun stuff over on my favorite Halloween recipes collection if you’re in party planning mode.
How to Melt Marshmallows
So. First hurtle: melting marshmallows without ending up with that weird, stringy mess or burnt sugar. I found the trick here is not to rush. Low heat is your champion. Dump the marshmallows into a pot with a giant dollop of butter. Get in there and stir, slow and steady. If you crank up the heat because you’re impatient (guilty), you can scorch them, that’s a universal sticky trap.
Print
Marshmallow Rice Bubbles Halloween Brains
- Total Time: 25 minutes
- Yield: 12 pieces
Description
These fun and spooky brain-shaped treats are perfect for your Halloween party and are easy to make without the mess.
Ingredients
Main Ingredients
- 4 cups Marshmallows (Use big-brand marshmallows for best results.)
- 3 tablespoons Butter (For melting marshmallows.)
- 6 cups Rice bubbles (Can substitute with corn flakes or puffed wheat.)
- 1 cup Edible eyeballs (Optional decoration.)
- 1 tablespoon Food coloring (Use red or pink for a spooky effect.)
For the Fake Blood
- 1 cup Corn syrup (Mix with red food coloring.)
- 2 tablespoons Red food coloring (For a realistic blood effect.)
Instructions
Preparation
- In a pot, melt the butter over low heat.
- Add the marshmallows to the pot and stir continuously until fully melted and smooth.
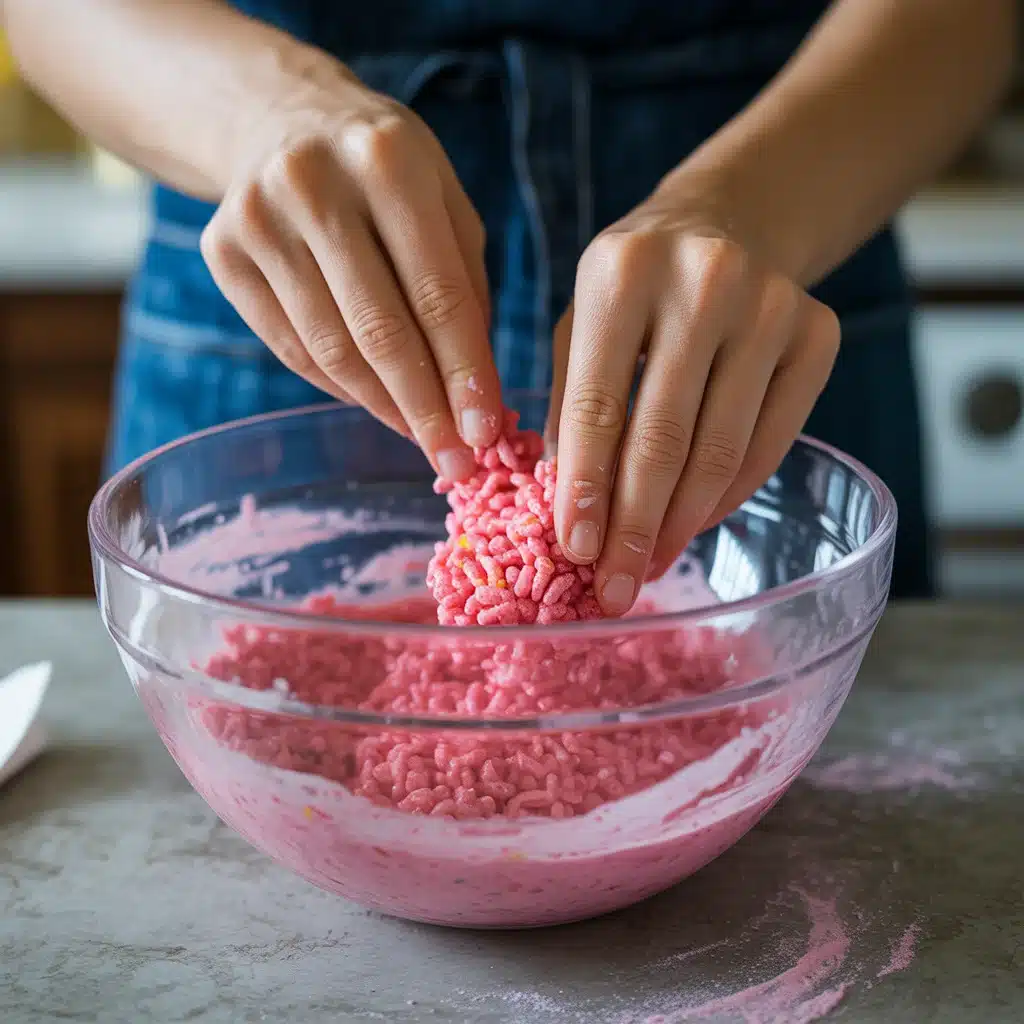
- Remove from heat and add the rice bubbles, stirring until well combined.
- Allow the mixture to cool slightly, then butter your hands and scoop blobs of the mixture to shape into brains.
- Make a groove down the middle of the shaped treats to resemble brain hemispheres.
- If desired, poke squiggly lines across the top with a toothpick.
Decoration
- Drizzle melted white chocolate on top for a shiny finish.
- Decorate with edible eyeballs and colored sprinkles if desired.
- Combine corn syrup and red food coloring to create the fake blood and drizzle over the treats for a gory effect.
Notes
These treats can be made a day or two ahead of time and stored in an airtight container. Dust your fingers with powdered sugar to prevent sticking while shaping.
- Prep Time: 15 minutes
- Cook Time: 10 minutes
- Category: Dessert, Snack
- Cuisine: American, Halloween
If the mixture starts to stick, take it off the heat for a couple seconds and keep stirring. Sometimes I add a few drops of food color (pink or red, let’s get gross). And yeah, use a silicone spatula. It saves future therapy sessions cleaning your pot.
“These treats melt together perfectly every time. I followed your instructions and my kids LOVED making them!” – Megan, Halloween snack enthusiast
Which Marshmallows to Use
Here’s the thing: not all marshmallows act the same. I once bought some off-brand ones that refused to melt, a literal disaster. If you want that classic squishy, gooey melt, stick to the big-brand bags. White is your best bet because food coloring mixes in smoothly, but if you can only get pink, that’s fine too (just adjust with a little less coloring).
Mini marshmallows melt a little faster and smoother than jumbos, but either works. Vegan or allergy-friendly options also get the job done, but give them extra time to break down. No need to hunt for fancy artisan mallows, you guys. If it’s on the regular grocery shelf, you’re good.
How to Form the Brains
Now it gets hands-on. This part cracks people up, honestly. Instead of pressing the marshmallow mix into a pan, you just scoop blobs into your (buttered!) hands and shape them kinda like lumpy ovals. Don’t overthink the shape, you want brains, not perfect eggs.
Let them cool a little or they’ll burn your fingers (speaking from pain here). Then, grab a buttered butter knife and make a groove down the middle to look like brain hemispheres. If you want to get real fancy, poke a few squiggly lines across the top with a toothpick or the edge of a spoon. They don’t need to look like a five-star restaurant treat. Weird is good.
If they’re sticking? Dust your fingers with a little powdered sugar. Game changer.
Tips for Decorating
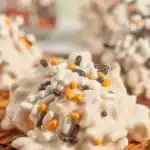
Honestly, this is where it gets fun and sticky. You can drizzle some melted white chocolate on top for a gory, shiny finish. Edible eyeballs? Go for it. Sometimes I just let the kids go wild with colored sprinkles or those squeeze tubes of colored gel from the baking aisle.
Don’t stress too much about perfection here. I mean, it’s a brain treat. Imperfection = more realistic (and a little gross). Just line a tray with baking paper and let the treats cool before decorating, or you’ll end up with a melted ‘art project’.
Adding Fake Blood Effect
Let’s go all in with the creepy. For the “blood,” you can mix a bit of corn syrup with red food coloring, it looks almost too realistic, honestly. Just use a spoon to drip it into the brain grooves. If you’re pressed for time (or like me, sometimes a bit lazy), strawberry jam works, too, and tastes even better somehow.
Here’s a quick way to finish them off:
- Dip a fork into the fake blood.
- Flick or drizzle lines across the tops.
- Let ’em set for a few minutes (stick ’em in the fridge if you’re in a hurry).
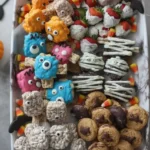
- Don’t forget to place a few on a black platter or fake spider web for extra drama.
| Tip | Details |
|---|---|
| Use Big-Brand Marshmallows | They melt better and provide that gooey texture we all love for our Halloween treats. |
| Stick to Low Heat | Melting marshmallows on low heat ensures a smooth consistency without burning. |
| Dust with Powdered Sugar | It prevents sticky fingers when shaping your brain treats. |
| Use Edible Eyeballs | For a fun touch, decorate your treats with edible eyeballs from the baking aisle. |
| Mix for Fake Blood | Combine corn syrup and red food coloring for a realistic gory effect. |
Common Questions
How far ahead can I make these?
You can make Marshmallow Rice Bubbles Halloween Brains a day or two before your event. Just keep them in an airtight container.
Can I use cereal other than rice bubbles?
Yep! Corn flakes or even puffed wheat work, but they’ll look slightly different.
How do I keep my hands from getting sticky?
Butter, baby. Or a bit of oil on your hands before shaping, works wonders.
Are these gluten free?
Most rice bubble cereals are, but always double check the label. Some brands sneak in gluten, weirdly enough.
What’s the best way to color the mix?
Gel food coloring is my choice. It makes punchy colors without watering the whole thing down.
Ready For Your Spooky Kitchen Debut?
So, basically, if you want a Halloween snack that’s easy, weird, and an absolute hit with everyone? Marshmallow Rice Bubbles Halloween Brains are the answer. The only hard part is not eating three in a row. If you’re looking for more showstopping, fright-night goodies, check out this collection of Halloween recipes for extra eerie inspiration. Ghost-themed cupcakes, anyone? Try these brains…you’ll feel like a Halloween rockstar in no time.
