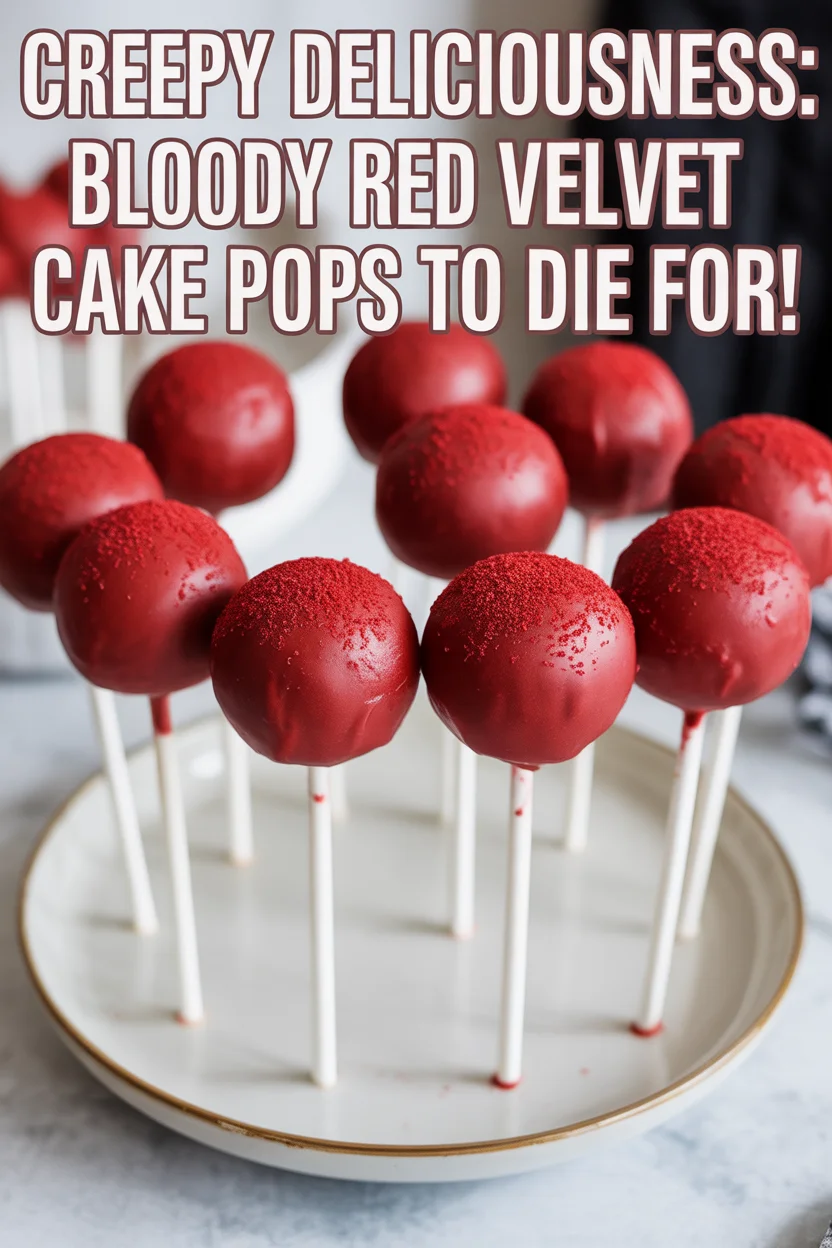
Bloody Red Velvet Cake Pops are just what my sweet tooth craves when Halloween rolls around. Every year, I find myself stuck between making something cute or going full-on creepy. Sound familiar? If you’re on the hunt for an easy homemade treat that’ll impress party guests or giddy kids, you need these in your life. Plus, if you need a wicked-good dessert to go with this, you have to check out this sweet potato pound cake recipe that’s honestly pure magic.
Halloween Party Fun
So, here’s the deal. Halloween to me is a big, bright orange explosion of laughter, goofy costumes, and way too many sweets. But honestly, most snacks on the table are just boring. People want memorable treats, not the same old plastic-wrapped candy. These bloody red velvet cake pops? Oh, they get attention. The color’s wild and the “bloody” drizzle takes it up a notch. I’ve made them for block parties where kids shriek with excitement, and even grown-ups fight over the last one. Food should be fun, especially at a Halloween bash.
Print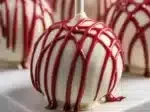
Bloody Red Velvet Cake Pops
- Total Time: 1 hour
- Yield: 12 cake pops
Description
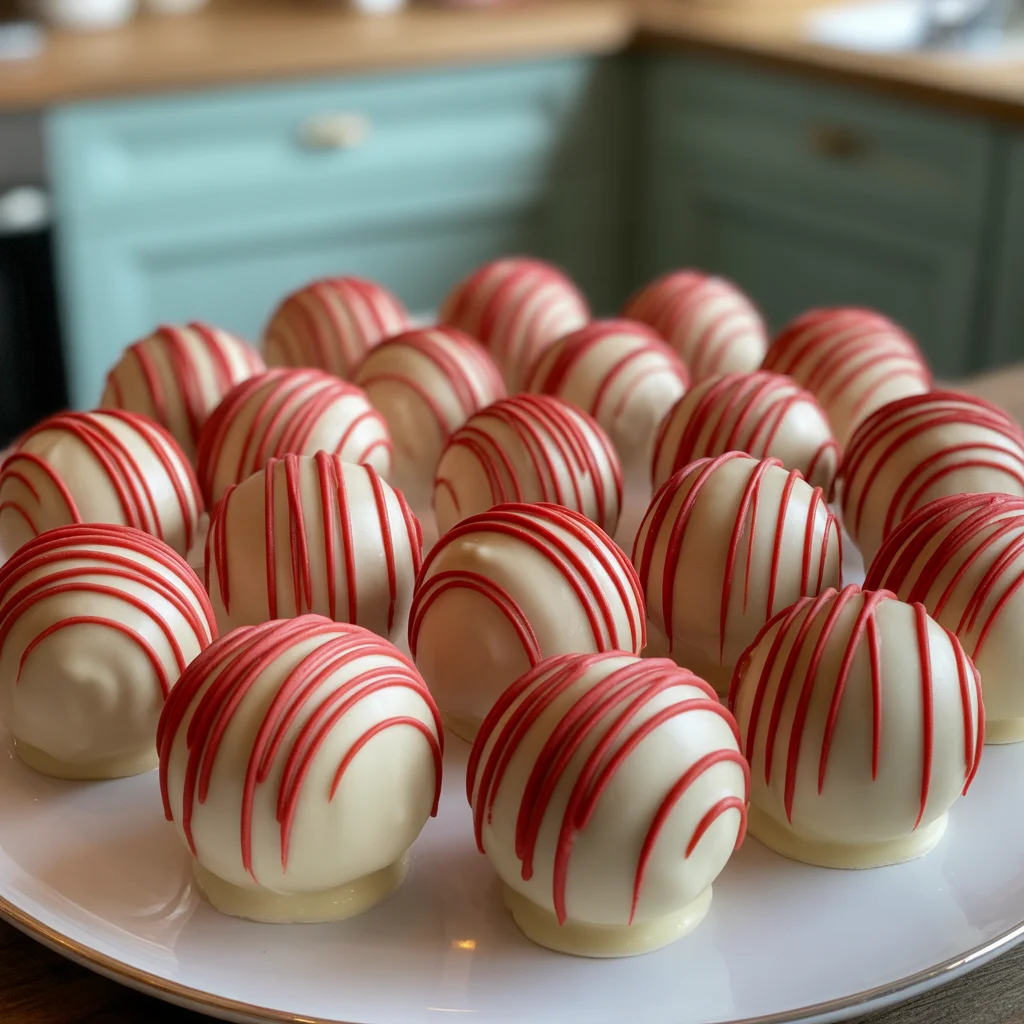
These fun and spooky cake pops combine moist red velvet cake with cream cheese frosting and a blood-red drizzle for a memorable Halloween treat.
Ingredients
Cake Ingredients
- 1 box red velvet cake mix (Store-bought is acceptable if pressed for time.)
- 1 cup cream cheese frosting (Add gradually to avoid sogginess.)
Coating and Decoration
- 2 cups white chocolate or candy melts (For dipping.)
- 1 tube red gel icing (For drizzling ‘blood’.)
- 1 package candy eyes (For decoration.)
- 10 sticks lollipop sticks (For holding the cake pops.)
Instructions
Preparation
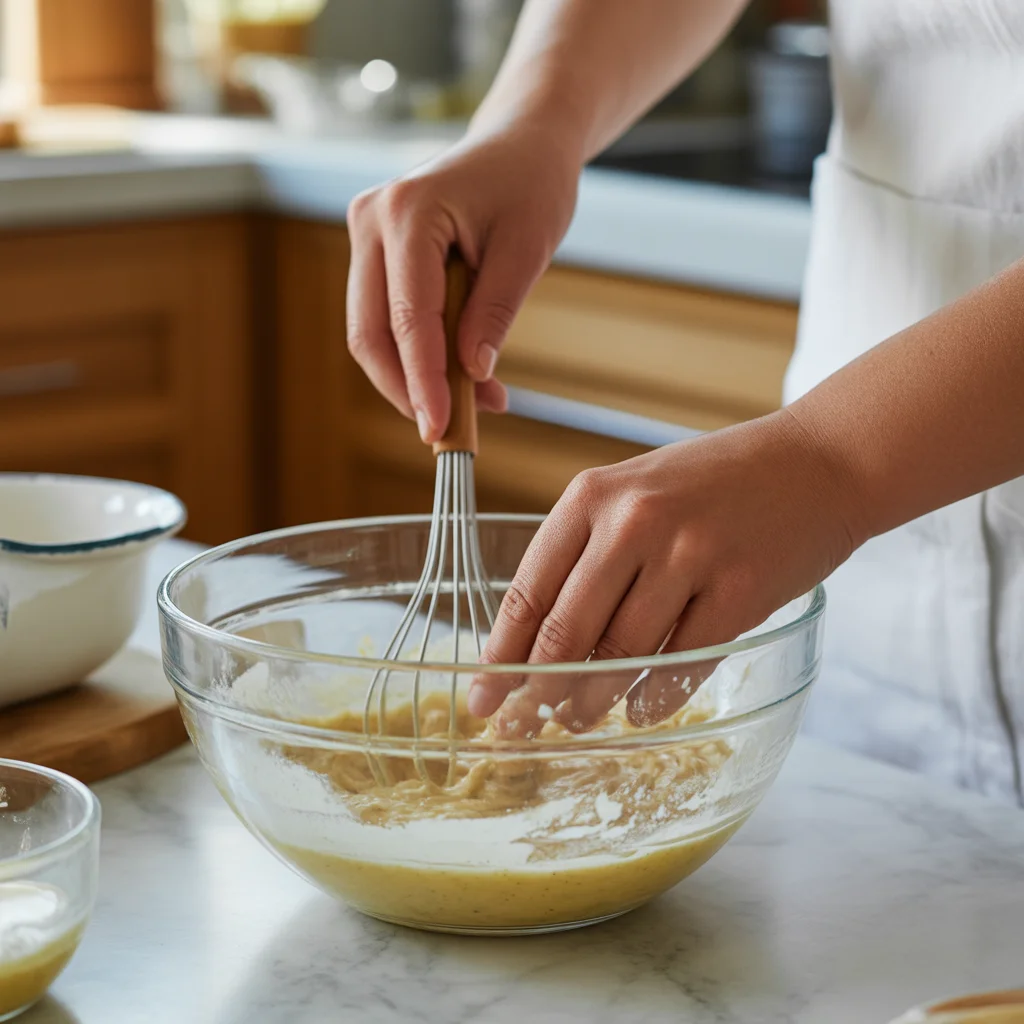
- Crumble the baked red velvet cake into a large bowl.
- Mix in the cream cheese frosting until the mixture resembles thick play-dough. Avoid overmixing.
- Roll the cake mixture into balls and place them on a baking sheet.
- Chill the cake balls in the freezer for about 30 minutes.
Coating
- Melt the white chocolate or candy melts in a microwave or double boiler.
- Dip one end of a lollipop stick into the melted chocolate and insert it halfway into each cake ball.
- Dip the entire cake pops into the chocolate coating, let excess chocolate drip off, and place them upright to set.
- Once set, drizzle with red gel icing and apply candy eyes for decoration.
Serving
- Store the finished cake pops in the fridge until ready to serve.
Notes
Always chill your cake balls before dipping to ensure they stay on the stick. For added fun, experiment with different decorations like colored candy melts or edible markers.
- Prep Time: 30 minutes
- Category: Dessert, Snack
- Cuisine: American, Halloween
| Tip | Details |
|---|---|
| Chill Your Cake Balls | Always chill for about 30 minutes before dipping. This helps them stay on the stick. |
| Use Edible Decor | Play with candy eyes and edible markers for fun designs. |
| Mixing Frosting | Add cream cheese frosting gradually to avoid sogginess. Aim for thick dough. |
| Store Properly | Keep cake pops in the fridge and consume within two days for best freshness. |
Best Halloween Cake Pops
In my totally-biased opinion, these are the best Halloween cake pops you can whip up. Here’s why: first, you start with moist, rich red velvet cake. Moist is not just a buzzword,
unless you like dry dessert crumbling all over your floor. Second, the cream cheese frosting bit? It makes every bite taste like five-star restaurant cake, but on a stick. I mean, c’mon. The real kicker is the look. With that drippy “blood” and eyeball design, even the pickiest eaters want in. I once brought these to my kid’s class party and, well, there were zero leftovers. Parents were texting me for the recipe hours later.
Scary Ideas for Halloween Cake Pops
You gotta get creative here! Red velvet cake pops make a killer base (pun kind of intended) for lots of Halloween looks. My go-to is the gory blood shot eyeball, but don’t stop there. You can do little monster faces, mummies with white chocolate wraps, or even ghost shapes. Using colored candy melts, edible markers, and candy eyes turns each pop into a tiny edible sculpture. Honestly, the messier the red “blood,” the better. Sometimes mine look terrifyingly realistic. Pro tip: if you mess up, call it a “creature feature.” People will think it’s on purpose and give you a standing ovation, or at least a solid chuckle.
How to Make Halloween Cake Pops At Home: A Simple Recipe
Let me break it down for ya with no fancy language. Making Halloween cake pops at home doesn’t cost much and you probably have most of the stuff already.
- Crumble baked red velvet cake (store-bought is okay if time’s tight) into a giant bowl.
- Mix in cream cheese frosting until it’s kind of like thick play-dough. Don’t overdo the frosting or they’ll turn wet and sad.
- Roll into balls (use your hands, obviously, best tools you own) and place on a baking sheet.
- Chill them in your freezer for about thirty minutes, otherwise, they fall right off the stick when you dip.
- Melt white chocolate or candy melts, dip a stick in the chocolate, and push halfway through each ball, then dip the whole thing, let the coating set, and decorate with red “blood” gel and googly candy eyes.
Pop ‘em in the fridge until you’re ready to spook the crowd.
Tips for Making Halloween Cake Pops
Oh, there are things I wish someone had told me before my kitchen looked like a murder mystery crime scene. Here are some tricks I’ve picked up:
- If the cake balls are too squishy, add a little more cake crumble to firm them up.
- For blood: Red gel icing is easiest, but melted red candy melts look super-realistic (if you want maximum drama).
- Letting pops dry standing up is prettier. I flip a colander upside down and stick the pop sticks in the holes. Works like a charm.
- Don’t skip the chill time. Warm cake pops just slide right off the stick, and who wants that mess?
Phew. Honestly, a little patience goes a long way. People will rave about your skills, trust me.
Serving Suggestions For Bloody Red Velvet Cake Pops
If you want to really wow your friends (or, let’s be real, yourself), here are a few easy ways to serve these bad boys:
- Stand them up in a hollowed-out pumpkin for the full spooky effect.
- Arrange on a platter with fake spiders and “cobwebs” (cotton candy).
- And, for a wild dessert table, pair them with something different, like this xango dessert fried cheesecake roll recipe for an extra sugar kick.
Bloody Red Velvet Cake Pops- Common Questions
Nope. You can use chocolate, vanilla, carrot cake, whatever floats your boat, but red velvet gives you that perfect blood-red center.
I’ve made them two days ahead. Keep them cool and they hold up fine.
That happens. Let the cake pops warm up for five minutes before dipping so it’s less likely to crack.
Absolutely. Buy premade candy eyes and food-safe pens for details. No shame in saving time.
Honestly, both. It’s a sticky, giggly mess, but they love getting creative and the end result is always hilarious.
Scare Up a Sweet Tooth This Halloween
So that’s my secret for Bloody Red Velvet Cake Pops to die for. No fancy tools, just a little effort and a lotta fun. Hope you’ll get messy, let your creativity fly, and maybe even start a new spooky tradition. If you ever crave more easy sweet ideas, don’t forget to peek at these irresistible Halloween treats too. Have a safe, sugar-loaded Halloween, friend!
Related posts:
 Get Ready for Fun: Easy Spooky Halloween Cookie Bark Recipe
 Spooky Vegan Blueberry Ghost Hand Pies to Haunt Your Halloween
 Spooky Marshmallow Rice Bubbles Halloween Brains Delight
 Easy Crockpot Halloween Candy to Sweeten Your Spooky Season
 Spooktacular Bloody Red Velvet Popcorn for Halloween Fun!
 20+ Spooktacular Halloween Treat Ideas to Make with Kids

 Main Dishes
 Drinks & Wellness