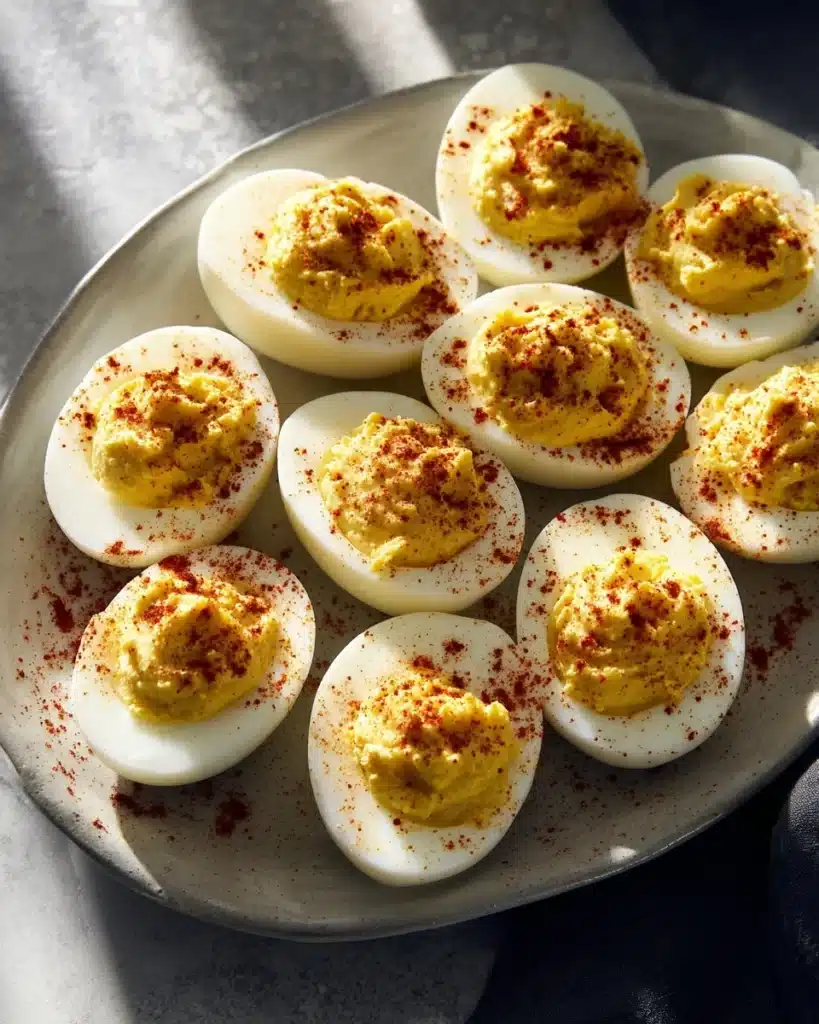
This is the kind of thing I make when I need something simple and familiar. Classic Deviled Eggs sit on a plate and somehow make everything feel like a small celebration. I like them for a quick snack, a picnic, or when guests pop in without warning. They don’t fuss back. They just taste good.
If you like party-ready egg dishes, you might also enjoy this deviled egg macaroni salad I tried last summer. It pairs well with cold fried chicken. Trust me, that combo always gets asked about.
Why You’ll Love This recipe
Why You’ll Love This recipe
They take almost no time. Really. Boil eggs once and you’ve got snacks for days. The filling stays smooth and creamy. People like that. Most days I make these when I want something reliable.
They travel well. Bring them to potlucks. Cover them and they keep their shape. I learned the hard way once don’t stack them. They squish. That’s not fun.
The flavors are simple. Mayo, a touch of mustard, salt, pepper, and paprika. Nothing fussy. But it hits the spot.
How to Make them the Right Way
How to Make them the Right Way
Start with good hard-boiled eggs. Cool them completely so the yolks mash clean. Mix the yolks with mayo and mustard until smooth. Taste. Adjust salt and pepper. Scoop or pipe the mix back into the whites. Chill briefly so the filling sets, or serve at room temp if you’re short on time.
I often make them a day ahead. They sit nicely in the fridge for a bit. If you want a slightly silkier filling, mash with a fork and then press through a small sieve. Not necessary, but nice when you have the patience. Also, if you like a slightly tangier bite, up the mustard by a scant half teaspoon.
Ingredients You’ll Need to Make this
Ingredients You’ll Need to Make this
- 6 hard-boiled eggs
- 3 tablespoons mayonnaise
- 1 teaspoon mustard
- Salt and pepper to taste
- Paprika for garnish
Step-by-Step Directions for this
Step-by-Step Directions for this
- Cut the hard-boiled eggs in half lengthwise and remove the yolks.
- In a bowl, mash the yolks with mayonnaise, mustard, salt, and pepper until smooth.
- Spoon or pipe the yolk mixture back into the egg white halves.
- Sprinkle with paprika for garnish.
- Serve chilled or at room temperature.
How to Serve this for the Best Results
How to Serve this for the Best Results
Keep it simple. Arrange them on a platter, sprinkle a little extra paprika over the top, and add a few parsley leaves if you want color. They look homey and honest. If you serve a lot of other finger foods, these do well next to pickles, crackers, and a bowl of chips.
If you like pairing savory and sweet, I sometimes set a small bowl of fresh fruit nearby. It’s an easy contrast. And if you want to bring something else from the same family of flavors, try a warm comfort dish like this tater tot casserole. People get cozy fast.
How to Store and Reheat this
How to Store and Reheat this
Store them covered in the fridge. They keep for up to two days best. After that the whites start to weep and the filling can dry out. Don’t keep them at room temp for more than two hours if it’s warm. Food safety matters.
If you want to make the yolk mixture ahead, keep it in a covered bowl. Fill the whites right before serving. That helps when you need a bit of hands-off prep time.
Helpful Tips to Make the Best version
Helpful Tips to Make the Best version
Use eggs that aren’t fresh-from-the-chicken. If they’re too fresh, the whites stick to the shell more and don’t peel clean. A week-old egg peels easier. I learned this the hard way.
Cool the eggs quickly after boiling. Run cold water over them or drop them in an ice bath. Cooling helps the peels come off and keeps a neat edge on the whites.
If your filling gets too thick, add a small splash of milk or a drop more mayo. It should be creamy, but not runny. And yes, the paprika matters. It adds a bit of color and a whisper of flavor.
If you want fancier edges, pipe the filling with a star tip. Otherwise a spoon works fine. Most days I just spoon.
Easy Variations to Try
Easy Variations to Try
- Add a tiny pinch of cayenne for heat. It wakes things up.
- Swap half the mayo for Greek yogurt for a tangier mix. Not as rich, but lighter.
- Fold in a teaspoon of finely chopped dill pickle for a briny kick. I do this on busy weekends.
- Top a few with crumbled bacon or a small caper for contrast.
Keep the changes small. This recipe’s charm comes from its simplicity.
Frequently Asked Questions About This Recipe
Frequently Asked Questions About This Recipe
Q: Can I boil the eggs in advance?
A: Yes. Boil them up to a week ahead and keep them in the fridge. Peel just before you make the filling for the cleanest whites.
Q: How do I get smooth yolk filling?
A: Mash well with a fork, then press through a sieve if you want extra smoothness. A tiny splash of mayo helps too.
Q: Can I use less mayonnaise?
A: You can. Reduce it a tablespoon at a time and taste. Keep in mind less mayo makes a drier filling.
Q: Is it okay to freeze deviled eggs?
A: I don’t recommend freezing. The whites turn rubbery and the filling changes texture.
Q: What if my yolks are gummy or grey?
A: Grey yolks mean they cooked too long. Cool them quickly next time and avoid a rolling boil. A gentle simmer works better.
Q: Can I use different mustards?
A: Sure. Yellow mustard is mild. Dijon gives more zip. Try a little and adjust.
Q: Are these safe for kids?
A: Yes, in general. But watch salt levels. Also remember the usual advice about serving eggs to very young children or anyone with dietary restrictions.
Conclusion
Conclusion
If you want a go-to snack that looks like you tried but took hardly any time, this is it. Make a batch, cover them, and enjoy the little wins throughout the day. For a classic take and another home cook’s method, see this Classic Deviled Eggs Recipe Recipe | Mary Nolan – Food Network. And if you like a deeply explained, step-by-step approach with ideas for variations, I recommend this guide from another trusted cook: BEST Deviled Eggs Recipe (How to Make Deviled … – Downshiftology.
Print
Classic Deviled Eggs
- Total Time: 25 minutes
- Yield: 6 servings
Description
A simple and delicious snack, perfect for picnics or unexpected guests, featuring a creamy yolk filling that is smooth and flavorful.
Ingredients
Main Ingredients
- 6 pieces hard-boiled eggs (Use eggs that are a week old for easier peeling.)
- 3 tablespoons mayonnaise (Can substitute some with Greek yogurt for a lighter filling.)
- 1 teaspoon mustard (Dijon mustard can be used for more flavor.)
- to taste none Salt (Adjust according to preference.)
- to taste none Pepper (Adjust according to preference.)
- as needed none Paprika (For garnish.)
Instructions
Preparation
- Cut the hard-boiled eggs in half lengthwise and remove the yolks.
- In a bowl, mash the yolks with mayonnaise, mustard, salt, and pepper until smooth.
- Spoon or pipe the yolk mixture back into the egg white halves.
- Sprinkle with paprika for garnish.
- Serve chilled or at room temperature.
Notes
Keep the deviled eggs covered in the fridge and consume within two days for best quality. They can also be made a day ahead. For smoother filling, press yolk mixture through a sieve.
- Prep Time: 15 minutes
- Cook Time: 10 minutes
- Category: Appetizer, Snack
- Cuisine: American
Related posts:
 The best Healthy snack! Frozen Grapes
 Strawberry Crunch Cheesecake Tacos
 Tennessee Onions (Cheesy Baked Onion Side Dish)
 Strawberry Kiss Cookies: Cute Valentine’s Day Cookies Everyone Loves
 Crack Chicken Sliders on Hawaiian Rolls – Easy Game Day Sandwiches
 Crispy Buffalo Wings Recipe, Easy Homemade Wings with Classic Buffalo Sauce

 Main Dishes
 Drinks & Wellness