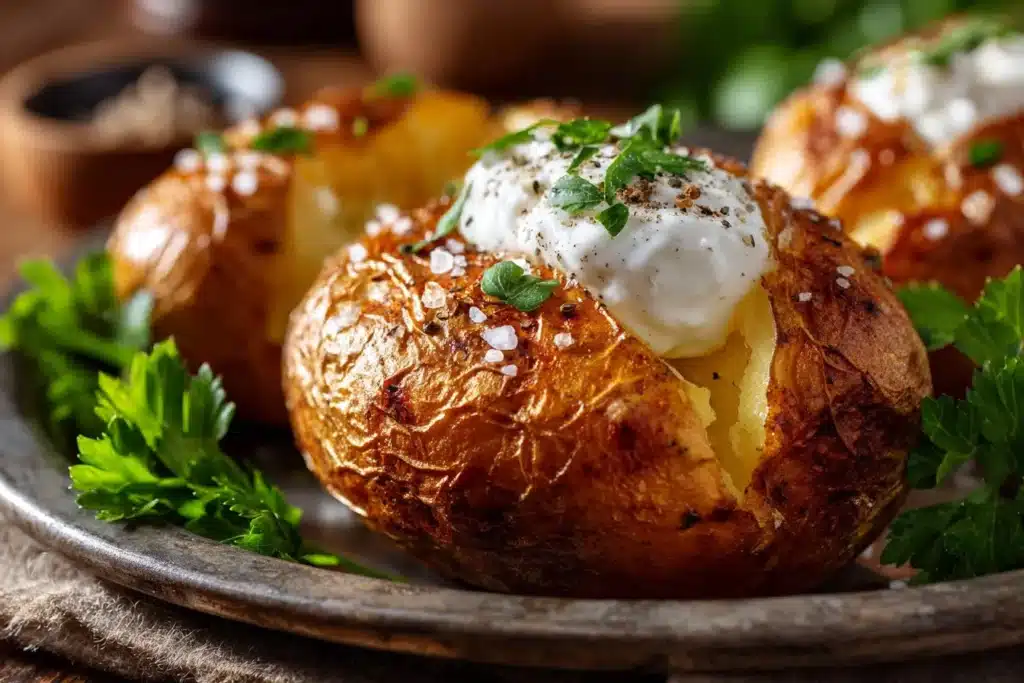
This is an easy way to get big, crackly potatoes that feel like they came from a good restaurant. I call them restaurant-style baked potatoes because the skin crisps up and the insides turn pillow-soft. They work for weeknights, slow Sundays, or when guests arrive and you want something everyone will like.
Serve one up with a simple salad or go all-in and pair it with something baked, like these easy baked chicken tenders for a low-fuss meal. Most days that’s all we need.
Why this belongs in your routine
You don’t need many ingredients. You don’t need special equipment. And they come together while you get other things done. That matters on long days. It’s reliable food that meets you where you are.
Also, these potatoes travel well. Make a few extra and you’ve got a quick lunch or a base for a late-night snack. I learned this the hard way once, don’t skimp on oil or salt. It matters.
How the restaurant-style version comes together
Think of this as a small, calm process. Wash. Prick. Oil. Salt. Bake. Done. No par-cooking, no wrapping in foil, no weird steps that make you roll your eyes.
Start the oven early. Heat concentration gives the skin its crisp without drying the inside. While it bakes you can chop a quick topping, heat beans, or set a tray of vegetables in for a sheet-pan dinner. Here’s the thing: the oven does the heavy lifting.
What You’ll Need To Make this
- Large russet potatoes
- Olive oil
- Salt
That’s it. No butter, no herbs, no drama. If you want, butter at the table. I do.
Straightforward Steps To Make the Recipe
- Preheat your oven to 425°F (220°C).
- Wash the potatoes thoroughly and dry them.
- Prick the potatoes several times with a fork.
- Rub the potatoes with olive oil and sprinkle with salt.
- Place the potatoes directly on the oven rack and bake for 45-60 minutes until the skin is crispy and the inside is tender.
- Remove from the oven and let them cool slightly before serving.
Follow those steps and you’ll get a consistent result. No need to check every five minutes. The fork test tells you when they’re done: it should meet little resistance and slide through.
Serving ideas that feel natural and flexible
- Split open and dot with butter and a pinch of pepper. Classic.
- Spoon on warmed chili or a bean stew for an all-in-one meal.
- Top with shredded cheese and a quick broil for a minute until melty.
- Add a scoop of plain yogurt, chopped chives, and a squeeze of lemon for brightness.
- Serve alongside roasted or baked proteins, try pairing with simple baked chicken thighs for a cozy plate.
Keep it easy. No need to reinvent the wheel. Plate, cut, eat.
Keeping leftovers for later
Let any leftover potatoes cool to room temperature. Wrap each one in foil or place in an airtight container. Store in the fridge for up to 4 days.
To reheat, warm in a 375°F oven for 10–15 minutes until the skin crisps again. You can also slice and pan-fry in a little oil for breakfast. If you microwave, the inside will reheat fast but the skin won’t get crispy, that’s fine sometimes. And yes, reheated, they still taste very good.
Little tips that help
- Use russets for their fluffy interior. I’ve tried other potatoes, and they work, but russets give that restaurant-y texture.
- Dry the skin well after washing. Damp skin won’t crisp properly.
- Don’t skip pricking them. It helps steam escape and keeps the potato from bursting.
- Salt the outside fairly generously. The skin takes it well.
- If you want extra-crispy skin, pop them under the broiler for 1–2 minutes at the end, watching closely. (I learned this the hard way once don’t walk away.)
If you’re wondering about oven racks, placing them directly on the rack lets heat circulate and crisps the whole skin. A baking sheet collects drips under them, if you worry.
I often tuck an internal note here: if you like a richer finish, a light brush of olive oil after baking and a sprinkle of flaky salt makes a huge difference.
Easy variations you can try
- Make a loaded version: top with sour cream, bacon bits, and cheese. Simple.
- Try a Mediterranean twist: spoon on sautéed tomatoes, olives, and a drizzle of olive oil.
- Keep it veggie-friendly: black beans, corn, avocado, and salsa.
- For a cheesy dinner, fold in some cooked orzo with feta and spoon it inside, similar flavors to the baked feta orzo idea if you want a mash-up.
Variations are optional. The basic version is great on its own.
If you’re short on time
Microwave first, then finish in the oven. Microwave a washed and pricked potato on high for 5–7 minutes (turn once). Then rub with oil, salt, and bake at 425°F for 10–15 minutes to crisp the skin.
Another quick route: slice in half, rub with oil and salt, and roast cut-side down at 425°F for about 25–30 minutes. Texture will differ, but you save time.
Scaling the recipe up or down
Want one potato? Great. Want a tray for eight? Also easy.
- One to two potatoes per person works for hearty eaters.
- For a crowd, bake them all at once on the racks, leave space so air can circulate. You may need the longer end of the time range if your oven is full.
- For small numbers, the oven heats the same. The timing stays about the same, which is one reason I like this method.
You don’t need to fuss with precise weights. Pick similar-sized potatoes so they cook evenly.
Questions people often ask
Q: Can I bake other potatoes the same way?
A: Yes. Yukon gold and red potatoes bake fine, but the skin and interior texture will differ. Russets stay fluffiest.
Q: How can I tell when the inside is done?
A: A fork or skewer should slide in with little resistance. If it still feels firm, give it more time.
Q: Do I have to oil them?
A: You don’t have to, but oil helps the skin crisp and hold salt. I recommend it.
Q: Is it okay to salt the inside?
A: Absolutely. A little salt on the finished flesh brightens flavor. Taste first and add what you like.
Q: Can I bake them on a sheet pan?
A: You can, but direct on the rack crisps better. If you use a sheet pan, try placing a rack on the pan or leaving space so air moves around the potatoes.
Q: How long ahead can I bake them?
A: Bake up to a day ahead. Reheat in the oven to bring back the crisp. They’re still good cold, too, if you like that.
A warm closing note
These potatoes make the kitchen feel calm. They ask for little and give a lot. Keep the steps simple and trust the oven. You’ll have one less thing to worry about at dinner.
If you want a slightly fancier take or another method to compare, this Steakhouse Style Baked Potato – Tastes Lovely write-up shows a restaurant-style approach that complements this one.
Print
Restaurant-Style Baked Potatoes
- Total Time: 1 hour 10 minutes
- Yield: 4 potatoes
Description
These restaurant-style baked potatoes feature a crispy skin and a fluffy interior, making them the perfect side dish for any meal.
Ingredients
Main Ingredients
- 4 large Large russet potatoes (Use russets for their fluffy interior.)
- 2 tablespoons Olive oil (Rub on the potatoes for crispy skin.)
- 1 teaspoon Salt (Salt generously on the outside.)
Instructions
Preparation
- Preheat your oven to 425°F (220°C).
- Wash the potatoes thoroughly and dry them.
- Prick the potatoes several times with a fork.
- Rub the potatoes with olive oil and sprinkle with salt.
Baking
- Place the potatoes directly on the oven rack and bake for 45-60 minutes until the skin is crispy and the inside is tender.
- Remove from the oven and let them cool slightly before serving.
Notes
Store leftover potatoes in the fridge for up to 4 days. Reheat in a 375°F oven for 10-15 minutes for crisp skin again.
- Prep Time: 10 minutes
- Cook Time: 1 hour
- Category: Side Dish
- Cuisine: American
Related posts:
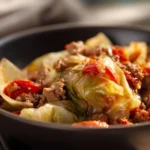 Slow Cooker Unstuffed Cabbage Rolls
 Easy Asian Cucumber Salad – The Perfect Side Dish
 Cheesy Garlic Chicken Wraps With Mozzarella Cheese
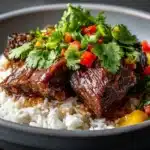 Slow Cooker Korean Style Pot Roast (Tender Chuck Roast Dinner)
 Cottage Cheese Chips – The Ultimate High-Protein Snack
 Valentine’s Day Muddy Buddies: Easy Pink Puppy Chow

 Main Dishes
 Drinks & Wellness